Supplies:
Stamps: Stampin' Up Joyful Flurry
Paper: Gina K White and Simon Says Stamp: Silver Matte Cardstock
Ink: VersaMark
Accessories: Stampin' Up Frosted Flurry Dies, Evergreen Forest Embosssing Folder, Simply Elegant Trim and Iconic Imagery Dies, Ranger Silver Embossing Powder
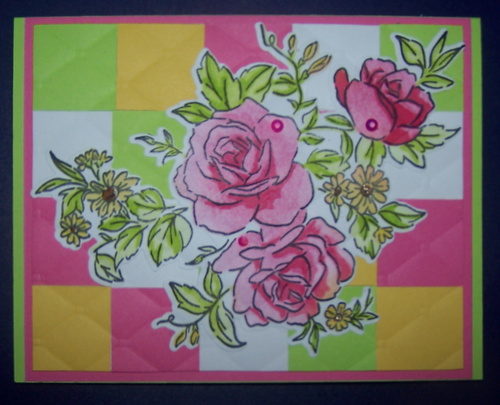
Hello Stampers! I am here to share a card I made for the featured stamper challenge over at Splitcoaststampers. Here is my inspiration card:
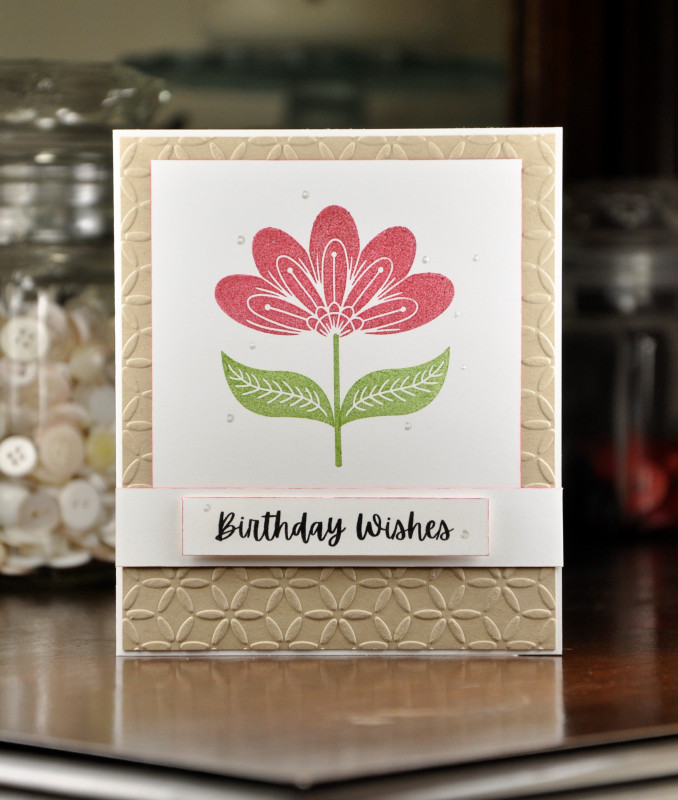
For my card I embossed the trees. Then I heat embossed the sentiment in silver, and added silver cord to the bottom of the focal panel. I matted this onto some matte silver cardstock, and adhered it to the white card base. For the inside I heat embossed the sentiment and die cut it. I tucked some snowflakes behind the sentiment.
A quick, clean and simple card!
Thanks so much for stopping by,
Terri