Tuesday, August 29, 2023

Happy Birthday!!


Supplies: 
Stamps: Stampin' Up Cheerful Daisies and Go To Greetings
Paper: Gina K White, Stampin' Up Highland Heather, Granny Apple Green, and Gingham Gala 6x6 DSP
Ink: Memento Tuxedo Black and Stampin' Up Daffodil Delight
Accessories: Stampin' Up Cheerful Daisies Dies, Frosted Flurry Dies, Pink Fresh 1/4" round blending brush, Dimensionals

Hello Stampers!  I made this card for the Color Challenge on Splitcoaststampers.  The colors are Highland Heather, Daffodil Delight, and Parakeet Party.  I didn't have Parakeet Party so I used Granny Apple Green.  I really liked the card I made yesterday, and I already mailed it off to my niece.  So I thought I would make another one with the colors of the challenge to have in my stash.  

To make this card I started by making the floral arrangement.  Then I got the card base ready and added a strip of DSP and matted it with Highland Heather cardstock.  Then I adhered the floral arrangement onto the DSP.  Next I stamped and die cut the sentiment, and popped it up with dimensionals.  For the inside I added a strip of DSP, stamped and die cut the sentiment, and adhered the sentiment and daisy to the inside of the card.

Tomorrow is my first day with students!   Wish me luck!!  Unfortunately that means I'll be MIA until the weekend.  I imagine I will be exhausted at the end of the school day this week.  The first weeks are the hardest!  

Thanks for stopping by!
Terri

Monday, August 28, 2023

Cheerful Daisy Birthday Card


 Supplies: 
Stamps: Stampin' Up Cheerful Daisies and Go To Greetings
Ink: Memento Tuxedo Black and Stampin' Up Daffodil Delight
Paper: Gina K white, Stampin' Up: Mint Macaron and Country Gingham 6x6 DSP
Accessories: Stampin' Up Cheerful Daisies Dies and Frosted Flurry Dies, Pink Fresh 1/4 in. round blending brushes, Dimensionals

Hello Stampers!!  I'm sharing a card today that I made for the Freshly Made Sketches challenge.  It is their sketch number 600!!!  
For my card I started with the daisy.  After I die cut the pieces, I blended on some yellow ink for the the center of the daisy.  Next I adhered the DSP to my card base.  After this I arranged and adhered the daisy onto the DSP.  Then I stamped and die cut the sentiment.  I adhered it to the card with dimensionals.  For the inside of the card I adhered some DSP and added a sentiment.  I had an extra daisy cut out so I adhered that to the corner also.  And that completed my card.

Thanks so much for stopping by!!
Terri

Sunday, August 27, 2023

Beautiful Season


Supplies: 
Stamps: Stampin' Up Beautiful Season
Paper: Stampin' Up Cherry Cobbler and Old Olive (inside) and Gina K Ivory
Ink: VersaFine Onyx Black and Stampin' Up Cherry Cobbler (inside)
Accessories: Colored Pencils, Gamsol, Spellbinders 2010 Heirloom Ornament dies, Stampin' Up Timeworn Type embossing folder and Tasteful Labels Dies (inside), Offray Ribbon, Dimensionals, Martha Stewart punch (inside), 3/16 inch circle punch (inside), white gel pen (inside)

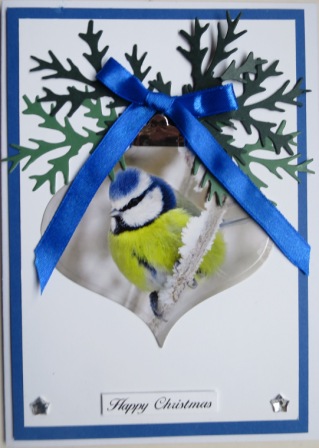
Hello Stampers!  I survived my week of inservice!!  We will start school next Wednesday with the kiddos!  Today's card is for the Featured Stamper challenge on Splitcoaststampers.  Here is the card that inspired my card:
For my card I stamped a bird image and die cut it using the ornament die cut.  Then I colored and blended with Gamsol to color the image.  I added texture to the ivory layer with an embossing folder.  To finish the card I adhered the layers together, and added a ribbon treatment. 

Thanks for stopping by!
Terri

Sunday, August 20, 2023

Happy Summer!


Supplies:
Stamps: Lawn Fawn Happy Summer
Ink: Memento Tuxedo Black
Paper: Gina K white, Stampin' Up basic black, and gingham from stash
Accessories: Copic markers and Stampin' Up Countryside Corners Dies

Hello Stampers!  I'm back with another card today!!  I made this card for two challenges: Splitcoaststampers Clean and Simple: Picnic and Freshly Made Sketches.
For my card I started with the focal image.  I die cut a piece of white cardstock using the countryside corners die, added a picnic blanket, and then stamped and colored in the watermelon and ants. Then I added the strips at the top and bottom of the cardfront.  

Well I better start to wind down, 5:00 is going to come really fast tomorrow morning!! :(

Thanks for stopping by!
Terri


Festive Christmas


Supplies: 
Stamps: Stampin' Up Trucking Along, Cherish the Season (inside), and Endless Wishes (inside)
Paper: Gina K White, Stampin' Up Real Red and Pear Pizzazz
Ink: Memento Tuxedo Black, Stampin' Up Pear Pizzazz and Real Red (inside)
Accessories: May Arts Twine, Stampin' Up Snowflake Sky Embossing Folder, Copic Markers

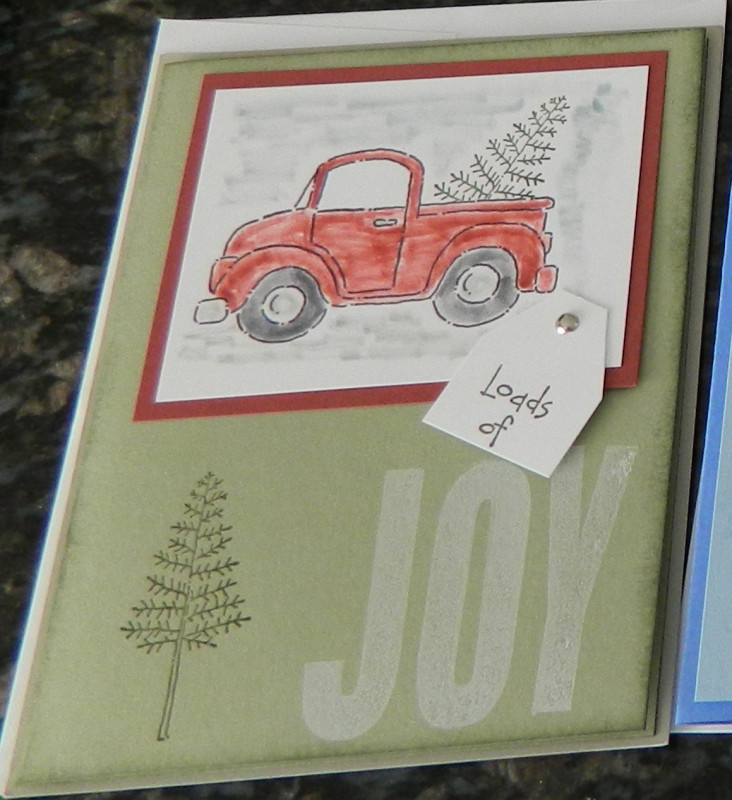
Hello Stampers!  It is my last day of Summer vacation...ugh!  I did have a lot of time in my scrapbook room this summer which I really enjoyed!  Now that school is starting there will be less time to stamp, and I will go back to being a weekend stamper.  Maybe as this busy time of year slows down a bit I will be able to stamp during the week.  Fingers crossed!  For my card today I used the Featured Stamper Sue's card as inspiration for my card:

For my card I changed it to a square card.  I stamped, colored, and fussy cut out the truck.  From there I worked on the focal panel.  I started by stamping the sentiment.   Then I partially embossed the top of the focal panel.  In order to ground the truck I added some twine and a twine bow.  Next I adhered the truck.  Then it was just adding some layers to complete the card.  For the inside I stamped the sentiment and then stamped a couple of snowflakes.  

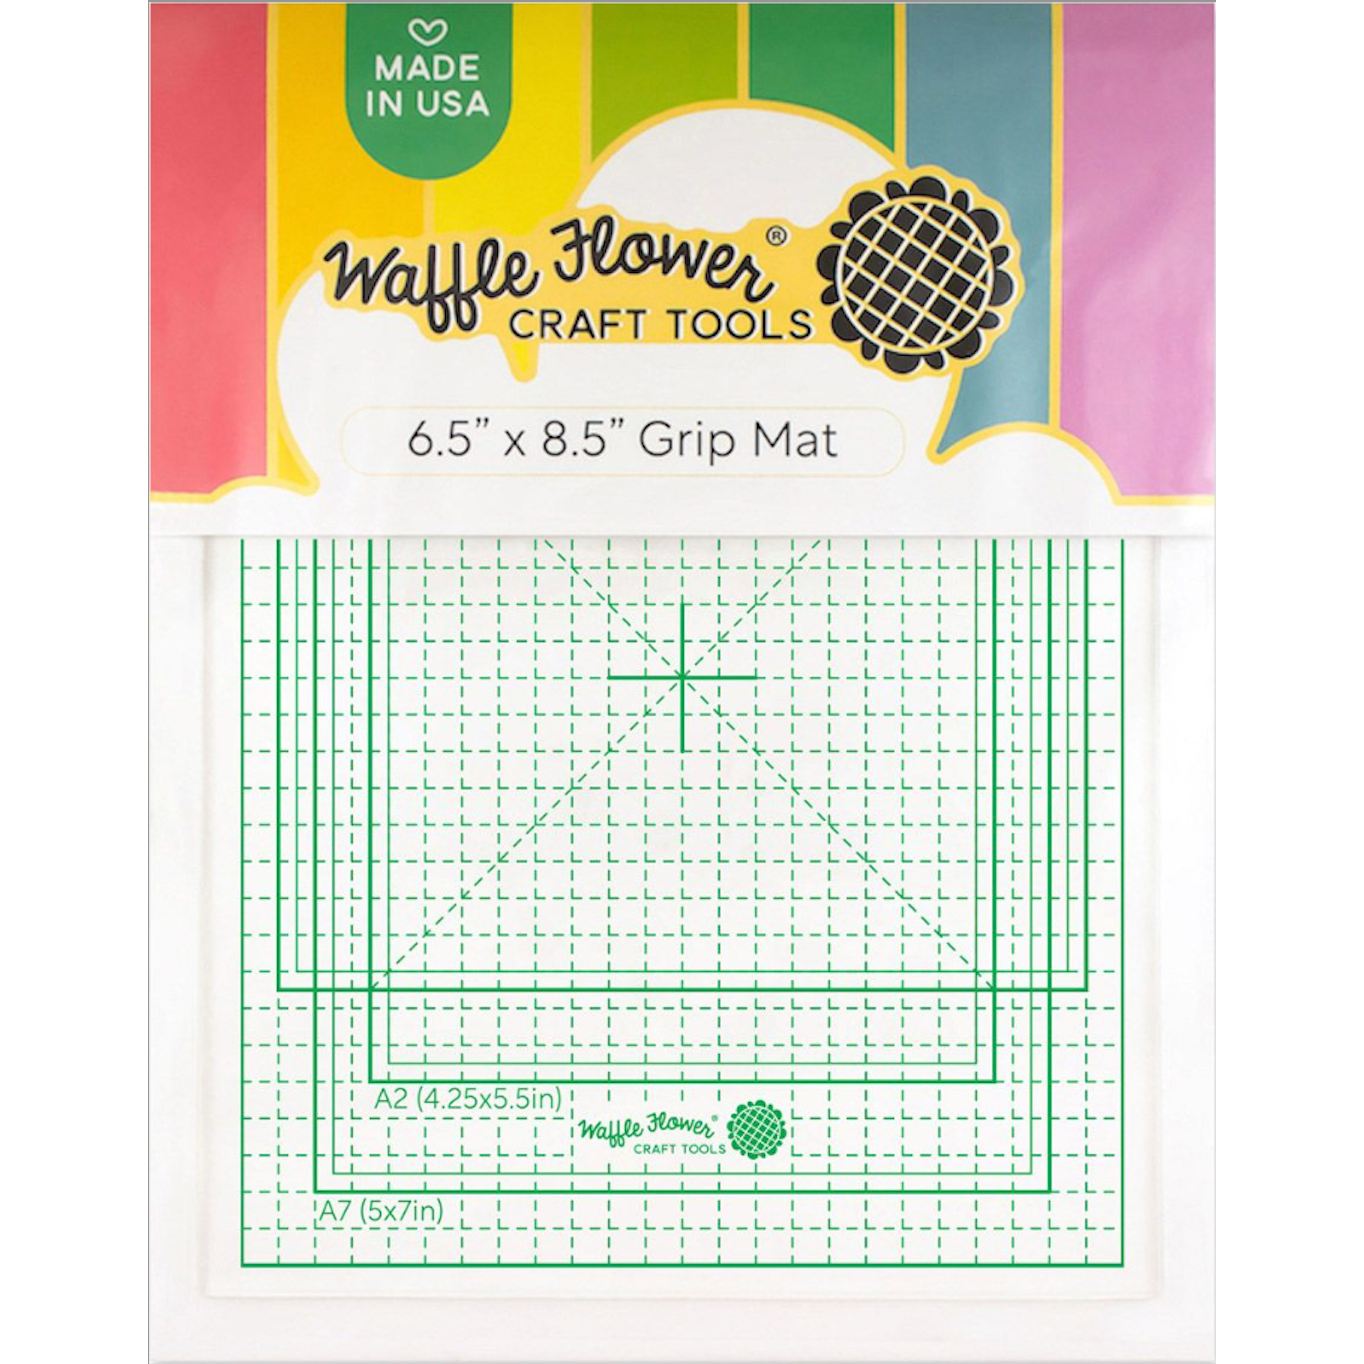
Before I go I wanted to share about this new grip mat.  I recently picked it up at a scrapbook store and I was able to try it out this week.  This mat fits inside the regular size Misti tool, and it is wonderful.  The grip mat stays in place in your Misti because it has grip on both sides, and you don't have to use the magnets to keep your paper in place.  It simply adheres to the grip mat.  The paper does not move at all as you are stamping.  I was worried that the grip mat would be too sticky and warp the paper as I took it out, but that is not the case at all.  The paper comes off with ease.  

That's all for now, thanks for stopping by!!
Terri

Saturday, August 19, 2023

Monster Mash


Supplies:
Stamps: Impression Obsession Monster Mash
Paper: Gina K White, Stampin' Up Basic Black, and Jillibean Soup: Apple Cheddar Soup
Ink: Memento Tuxedo Black
Accessories: Copic Markers, Waffle Flower Nesting Circle Dies, Stampin' Up Deckled Circle Dies, and Deckle Scissors

Hello Stampers!  I'm here to share a card that I made for the Clean and Simple Challenge on Splitcoaststampers: Use orange, and the Free 4 All Challenge on Splitcoaststampers: Monsters Everywhere.  I started the card creating the circle.  I die cut the circle out of patterned paper, and then I used the deckle circle die to mat the circle in black.  Then I started on the monster.  I stamped and colored in the monster.  I matted the focal image with black and broke out the deckle scissors to create the deckle edge.  For the inside I stamped the sentiment and matted it with black that I edged with deckle scissors.  

That's all for now, thanks for stopping by!!
Terri

Thursday, August 17, 2023

Wicked Halloween


Supplies:
Stamps: Stampin' Up Happy Scenes and Wonderfully Wicked
Ink: Memento Tuxedo Black and Distress Inks: Carved Pumpkin and Mustard Seed
Paper: Gina K White and Stampin' Up Pumpkin Pie
Accessories: Stampin' Up Brick and Mortar embossing folder, Hearth and Home Framelits Dies and Trio of Tags Dies, Pickett Fences blending brushes

Hello Stampers!  Today's Ways to Use It challenge on Splitcoaststampers is black cats.  One of the cutest cat stamps I have is from the Stampin' Up Wonderfully Wicked stamp sets, and that is where I started with this card.  I die cut the window frame and put a pieces of paper behind it.  I traced the inside of the window frames so I knew where to stamp the cat and the spider web.  After I stamped these images and let them dry, I erased my pencil lines.  I put it behind the window and I felt like it needed some color.  I blended carved pumpkin into mustard seed to add a glow to the inside of the house.  I adhered the two pieces together and then I went on to the window box.  I die cut some little jack o lanterns and adhered them to the back of the window box, and then I adhered the window box to the window.  Then for the background I embossed it with the brick and mortar embossing folder.  To finish the card I stamped a sentiment and black cat on the inside of the card, and I had a few extra jack o lanterns and adhered them around the sentiment.  And that completes my card.

Thanks so much for stopping by!!

Terri