Tuesday, April 26, 2011

A Sketch, A Challenge, A Mother's Day Card

Supplies: Stamps: Well Scripted Paper: crumb cake, chocolate chip, white, pear pizzazz, riding hood red, daffodil delight, pink pirouette Ink: soft suede Accessories: little leaves die cut, floral fusion die cut, itty bitty shapes punch pack, dotted scallop ribbon border punch, rhinestones, twine, buttons latte


I've been working on this card a few days. I had everything punched out and was having fun moving around the die cuts until I found the arrangement that I liked. I used the sketch from the Clean and Simple Blog, FTL137, for this card. I also combined the "Rules of Three" CAS challenge on SCS. I used the three flowers, and before I added the itty bitty flower in the center of the flowers there were three layers to each flower. But I couldn't resist adding the fourth! Thanks for stopping by!


Friday, April 22, 2011

Fun Embossing Tip!

So I went shopping the other day at Joann and found the Cuttlebug All In One Embossing folder system. I was shocked, because I don't remember hearing about this new product and Joann had it in stock?! So I picked up the base and the thank you set, thinking how cool is this?! Being able to design your own embossing panels... But low and behold when we got it home the end result was disappointing. Every single time I ran it through there were creases next to the movable embossing plates. sigh...

I went on SCS and the Cricut Community forums for some tips and trick and tried different papers, mat stacks, even Kleenex! No luck. I was so frustrated I went that same night and returned it. Anywho, I was checking out the forums again today, and Lynn Phelps over at SCS posted that she spritzes her paper with rubbing alcohol because it works great to smooth out creases when embossing and gives a nice deep texture when using texture plates! (So at this point I was a little disappointed I returned the CB plates, because I wasn't able to try it out with the new product.) But I was totally excited about the texture plates! So this morning I filled up my spritzer with rubbing alcohol and ran it through, and WOW! What a difference. I took some pictures to show you the results.
Here is my mister and SU texture plate.


First I spritzed it, it only stays wet a short while and the paper curls a little bit.


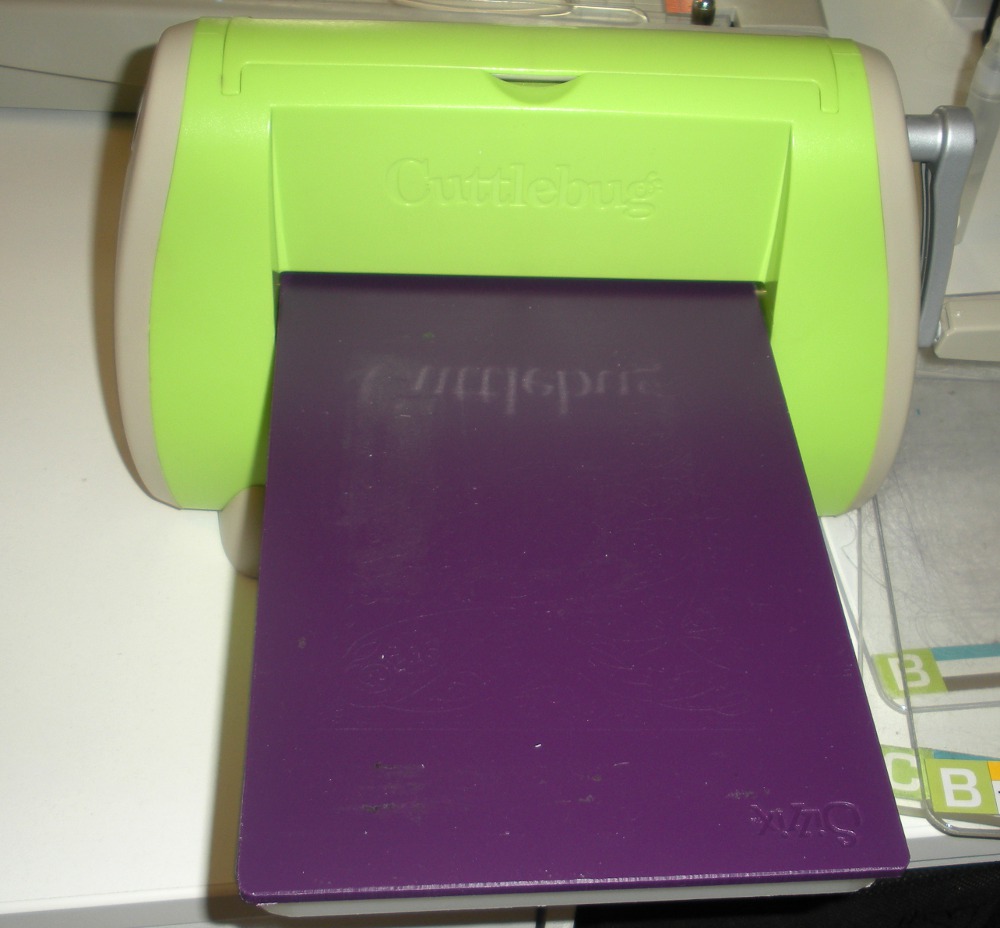
In my Cuttlebug I layered the A plate, texture plate, then the wet paper (spritzed side down, don't know if that matters but that was how I did it)


Then I added the Sizzix rubber mat.


Then two shims that came with my Sizzix crease pad, but you could use cardstock or chipboard. Depending on your machine you may not need to use a shim at all.


On top I put the purple Sizzix plate, and ran it through the Cuttlebug.


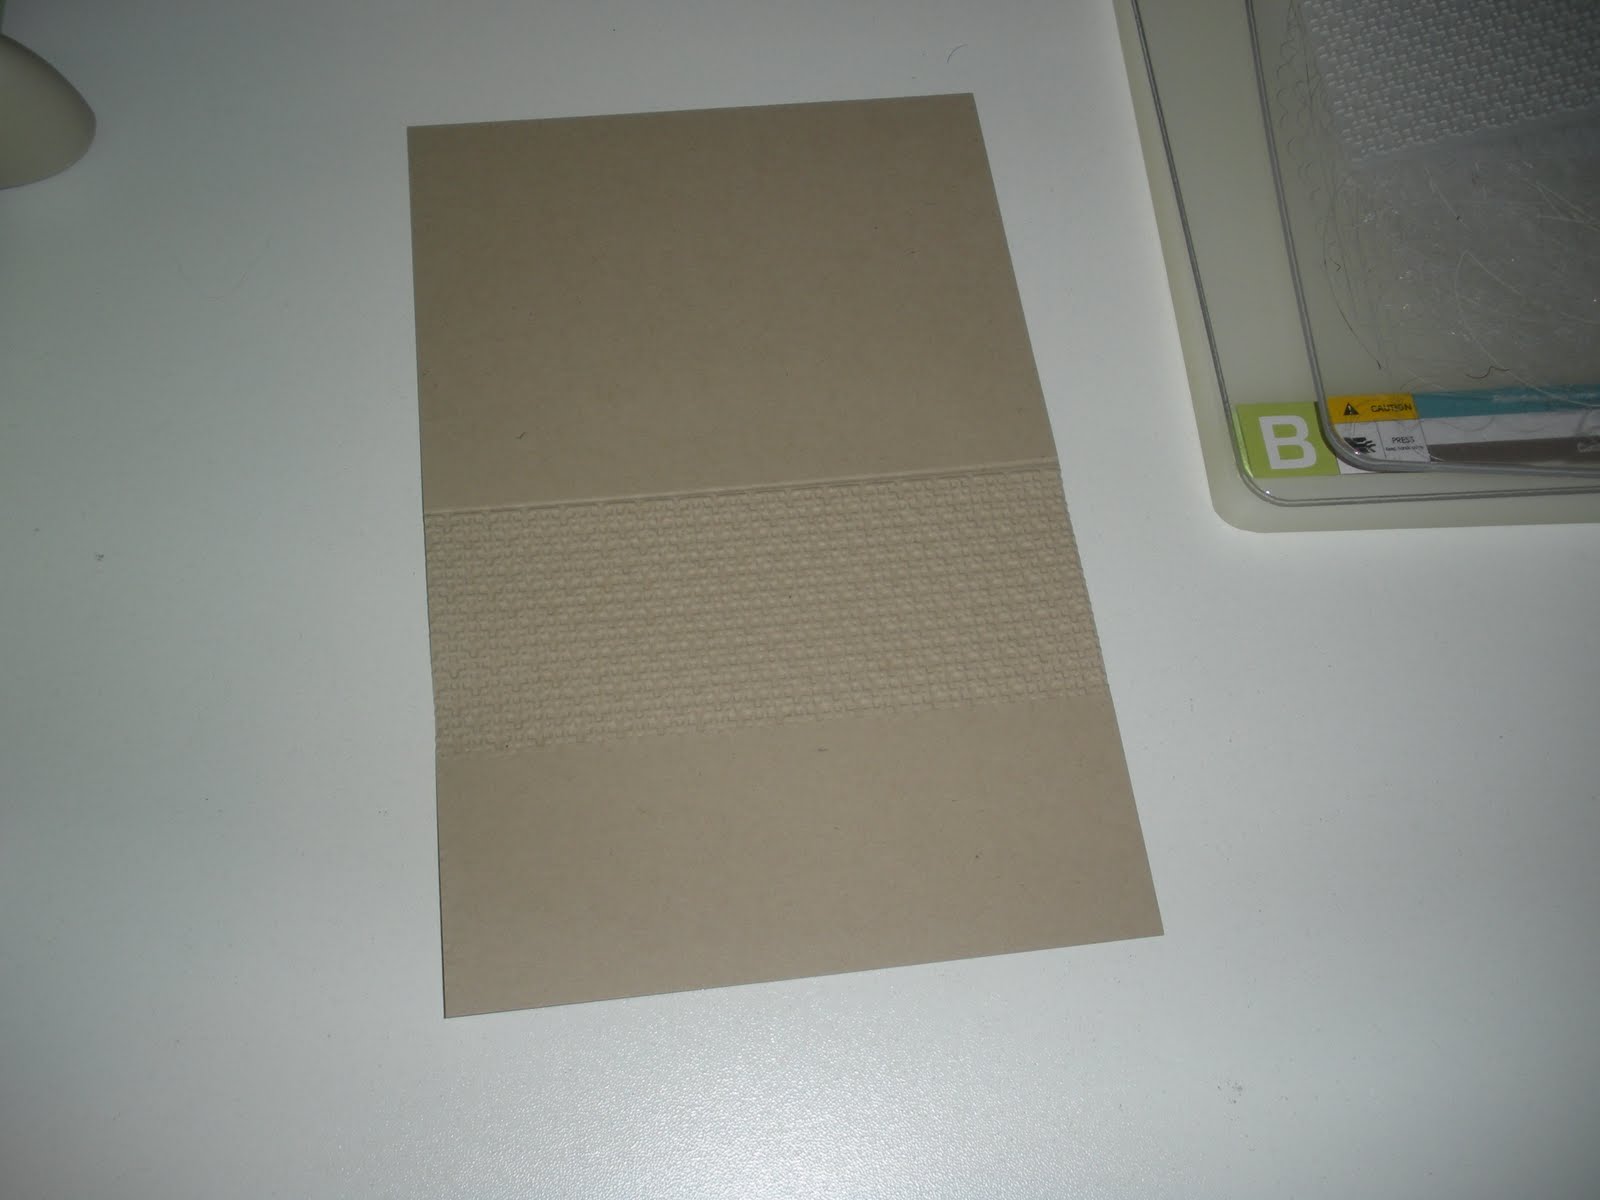
And here is the end result. The alcohol spritzed one is on the left. On the right I followed the same mat stack without spritzing the paper. You can see that the texture is much deeper on the spritzed paper. I am thrilled with these results. I didn't always use the texture plates, because it was hard to see the design. Now I will be using them more frequently!

Thank you Lynne!


Thursday, April 21, 2011

Favorite Peep!

Supplies: Paper: crumb cake, patterned paper?, light yellow, brown Accessories: lifestyles (formerly quickutz) die cut, su ribbon, computer generated sentiment, 1/2 inch circle punch (to add brown behind the bunny, paper piercer


Is that die cut the cutest ever?! I had to make a card with it! I made this for my nephew which is why I chose the green and blue striped paper. And he truly is one of my favorite "Peeps." He is growing up way too fast though!


Thanks for stopping by!


Tuesday, April 19, 2011

New Embossing Folder

Supplies: Paper: chocolate chip, white, and melon mambo Accessories: flower garden and square lattice embossing folders, chocolate chip ribbon, corner rounder


Well I am on Spring Break from school, and I have been LAZY! I think the only reason I made a card today was because I got my Stampin' Up order today. Not sure what has gotten into me. It certainly doesn't help that we are in the middle of a snow storm here is WI! I think I need to move! ENOUGH snow already! Anywho! I used the CAS challenge from SCS for this card. It was a sketch challenge. I love the new embossing folder from SU's summer mini coming out soon, it is larger than I had expected, but I know I'll be having some fun with it!


Thanks for stopping by!


Saturday, April 16, 2011

Embossing the Top Portion of Your Card Base

I have had a few inquiries about how I embossed the top portion of my card base on this card. I am a visual person so I took a few pictures to show how I did this. First line up your score line with the embossing folder edge to be sure that the embossing goes all the way to the top of your card.
Here it is with the embossing folder closed. Mine looks a little off, it was hard to hold and take a picture.
Place your top plate only over where you want it to emboss. It may be helpful to mark on your embossing folder how far down you want the embossing to be on your card.
Run it through the die cut machine.
And the top portion is embossed.


Happy Stamping!


Monday, April 11, 2011

Happy Easter

Supplies: Stamps: Whipper Snapper, Stampendous Ink: Memento tuxedo black Paper: blushing bride and white Accessories: rectangle nestabilities, cuttlebug flower, 7/8 inch circle punch, hero arts flower gem, copic markers, sizzix embossing folder, blushing bride ribbon


I don't know about you guys but the weather was like summer here yesterday, 80 degrees and humid! My husband washed the cars and I sprayed out the garage! Then we had some pretty wicked storms in the evening. Today it is back to 50-60 degrees and dreary, typical for a Wisconsin Spring day. So I only had enough time to finish up this card. I colored the image a few days ago, and finally put it together yesterday. I used the sketch from SCS, so it all fell together pretty quickly once I decided to not use patterned paper! I still have a few more Easter cards to make I better get going Easter isn't that far away!! Have a great week, if I have some time I'll be able to post again, otherwise it probably won't be until the weekend when Spring Break begins for us! :)

Thanks for stopping by!


Thursday, April 7, 2011

April Calendar

Supplies: Stamps: Stampendous and Printworks Paper: light yellow, lavendar, and white cardstock Ink: Memento tuxedo black Accessories: copic markers, 1/8" satin lavendar ribbon, ek success border punch, Martha Stewart anywhere drill hole punch, Marvy scallop oval punch, ek success whale of a punch circle, paper piercer, calendar case


So a few posts ago I mentioned I went to a scrapbook store when we had our taxes done. While I was there they had these cute little calendar cases, and mini calendars made up that were just adorable! I computer generated the calendar, added a little chocolate bunny clip art under Easter Day, and printed it on light yellow cardstock. I punched out the bottom lavendar portion and stamped Happy Easter using my stamp a ma jig. I colored my focal image with copic markers, punched it out with my circle punch, and layered it with the scallop circle that I pierced. I wanted to add some ribbon so I used the stay put bow to attach some tiny lavendar ribbon. This was a fun project to make. The completed calendar measures about 2 1/8 x 3 1/2. I will have to start thinking about May!


Thanks for stopping by!


Tuesday, April 5, 2011

Another Featured Stamper Card

Supplies: Stamps:Sweet Summer, So Happy for You Paper: Blushing Bride, Crumb Cake, White Ink: Black Accessories: Blushing Bride ribbon, eyelet border punch, dimensionals, self adhesive pearls, copic markers


I made another card for the featured stamper challenge. This time I chose this card to case. I made the following changes: color scheme, stamps, added ribbon, and added a punched border. Click here to see how I embossed the top portion of the card base. Thanks so much for stopping by!


Sunday, April 3, 2011

Iris Birthday Card

Supplies: Stamps: Vintage Labels, Paper Parachute Ink: Staz On Black, Old Olive Paper: Black Onyx, Old Olive, purple from stash, white Accessories: Spellbinders, Cuttlebug die cut, SU decorative label punch, 3/4 x 15/16 oval punch, SU square lattice embossing folder, gems, prismacolor pencils, gamasol

I can't believe it has been a week since my last post, well actually I guess I can! What a crazy week it was! Hopefully next week will allow for some stamping time! This week on SCS the featured stamper is Irene, DandI93. This card caught my eye, because my Mom just borrowed me this iris stamp that she picked up at a rummage! I have been wanting to use it and Irene's card gave me the inspiration. The changes I made to the card are: added embossing to the green and purple panels, I used a different spellbinders die cut, and I changed the sentiment.


Thanks for stopping by!