Supplies:
Stamps: Stampin' Up Jar of Joy, Hero Arts Cookies Set, Hero Arts Year Round Messages
Paper: Gina K White, Stampin' Up Real Red and Pecan Pie, Doodlebug 6x6 Home for the Holidays
Ink: VersaMark, Stampin' Up Real Red
Accessories: Hero Arts Cookies Set Die, Celebrate It Ribbon (Michaels), Spellbinders circle and fancy circle, Stampin' Up: Stylish Shapes Dies, Dimensionals, Peppermints, Brutus Monroe Alabaster White Embossing Powder
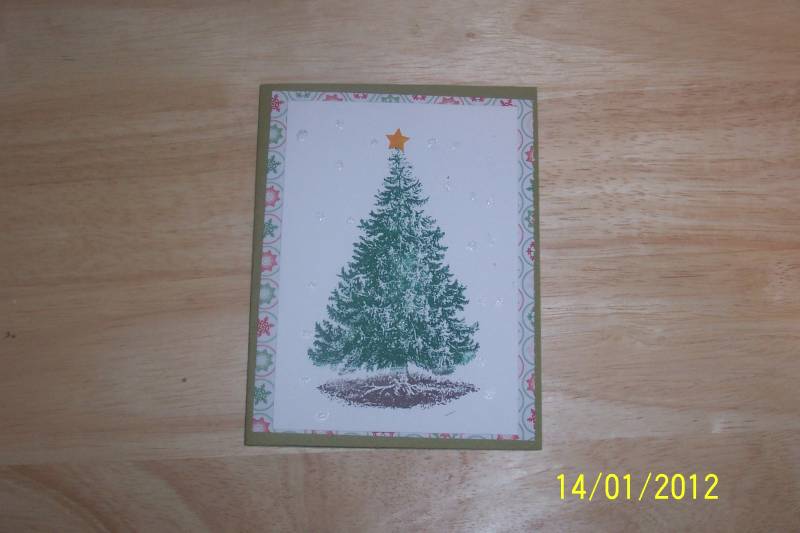
Hello Stampers!! I'm here to share a card I made for the Featured Stamper Challenge over at Splitcoaststampers! Here is my inspiration card:  For my card I started with the gingerbread man. I heat embossed him, die cut it, and added some peppermints for his buttons. Then I went through a bunch of dies, to find a fancy circle to go behind the gingerbread man. I found one in my Spellbinders dies, I'm not sure what the name of the set is. It is an oldie but goodie. I popped up my gingerbread man on this circle. Then I went through my Christmas papers to find a coordinating piece, and found this fun peppermint paper. I decided to have the patterned paper go down the middle of the card front, and I matted it with some white cardstock. For the sentiment I stamped it in real red ink, and die cut it with the Stylish Shapes die. At this point I started to adhere my elements to the red cardstock layer. I popped up the gingerbread, and before I popped up the sentiment I added some ribbon behind it. Once everything was adhered I adhered the red layer to the card front. For the inside I again die cut the fancy circle, but this time in red. I stamped the sentiment and die cut it out with a circle die cut. I put a strip of the patterned paper behind this also to complete this card.
That's all for now!! Thanks for stopping by!!
Terri