Monday, July 31, 2023

Relax It's Your Day


Supplies:
Stamps: Amuse: Relax It's Your Day and Hammock, Papertrey Birthday Basics (inside)
Ink: Memento Tuxedo Black and Distress Ink: Mustard Seed (inside)
Paper: Gina K white
Accessories: Copic Markers, Stamp a ma Jig, Gina K Sunshine Stencil (inside), Poppy: Whittle Sunshine and Whittle Clouds, My Favorite Things: Rectangle Peek a Boo Window

Hello Stampers!  I made this card for the Clean and Simple Card Challenge on Splitcoaststampers.  The theme for this week's challenge is vacation.  I thought of this hammock stamp right away.  To make my card I started with the front card panel.  I trimmed it and die cut the recgtangle peek a boo die cut.  Then I set it on my card front without adhering it and used a pencil to trace the inside of the rectangle so I could see where to stamp my hammock.  Next I lined up my stamp a ma jig and stamped the hammock within the lines I traced.   Then before I went further I wanted to stamp my sentiment.  I again used the stamp a ma jig to line up and stamp the sentiment.  By this time the ink was dry from the hammock stamp and I erased the lines I drew on.  Next I colored in the hammock stamp, and then dotted the sand with my Copic markers.   For the sky I used a Copic marker and colored swirls.  Now it was time to adhered the card panel to the card front.  I used dimensionals to pop this panel up.  For the die cuts I adhered the clouds and for the sun I colored it in with Copic markers and then adhered it to the card.  I was kind of stumped as to what I should do on the inside.  Then I remembered that I had this sunshine stencil and that was what I went with.  
This was a fun card to make.  Thanks so much for stopping by!!

Terri

Sunday, July 30, 2023

Beer Birthday


Supplies: 
Stamps: Stampin' Up Brewed For You and Paper Trey Birthday Basics
Ink: VersaMark, Memento Tuxedo Black, Stampin' Up Crushed Curry
Paper: Gina K white, October Afternoon: Campfire 8x8 paper pad, Simple Stories: Bloom and Grow 6x6 paper pad, Stampin' Up Early Espresso
Accessories: Gina K: Master Layouts 2&4 and Large Rectangle Dies, My Favorite Things: Stitched Fishtail Sentiment Strips (inside), Lawn Fawn: Stitched Rectangle Dies, Brutus Monroe Alabaster White embossing powder

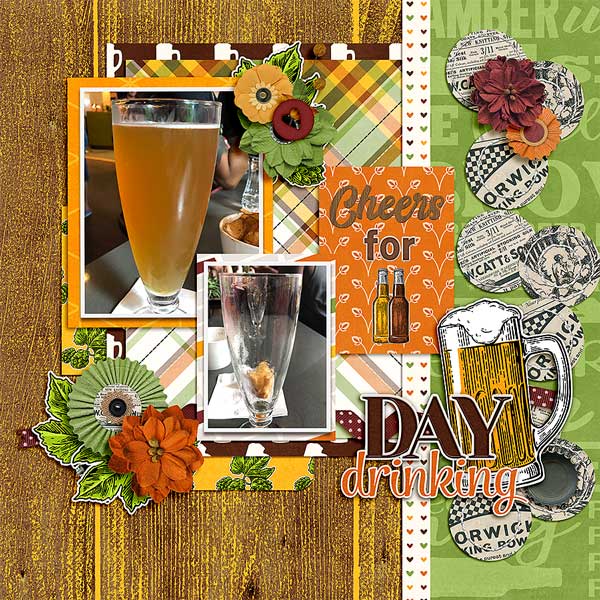
Hello Stampers!  It is Featured Stamper Sunday on Splitcoaststampers.  This week's Featured Stamper is Jennifer and this is the scrapbook layout that inspired my card:


For my card I stamped the beer glass and then die cut it with a stitched rectangle die cut.  Then I die cut the wood patterned paper and the card panel from stitched rectangle dies.  For the sentiment I stamped and heat embossed the happy birthday and then die cut it from a sentiment strip. 

That's all for now, thanks for stopping by!

 Terri

Friday, July 28, 2023

Sunflower Birthday Wishes


Supplies: 
Stamps: Stampin' Up Celebrate Sunflowers and Go To Greetings, PaperTrey Birthday Basics (inside)
Ink: Memento Tuxedo Black and Stampin' Up Daffodil Delight, Soft Suede
Paper: Gina K white
Accessories: Stampin' Up Gingham Ribbon, Dimensionals, Masking Magic 

Hello Stampers!  I am participating in the Freshly Made Sketches sketch of the week.  
To make my card I masked off the bottom portion of my focal panel, and then stamped my sunflower.  I added the ribbon and sentiment and that completed my card!  Easy Peasy!!  I did the same thing on the inside I just masked off the top of the sunflower.  

Thanks for stopping by!!

Terri

Sunday, July 23, 2023

Joy


Supplies:
Stamps: Honey Bee: Joy Buzzword (inside)
Paper: GKD white, and Stampin' Up real red, daffodil delight, and garden green
Ink: Stampin' Up real red (inside)
Accessories: Poppy: Joy Freestyle Script, Honey Bee: Winter Bouquets, Cuttlebug Folder: Matelasse, Stampin' Up Label Aglow (inside), Stampin' Up real red ribbon


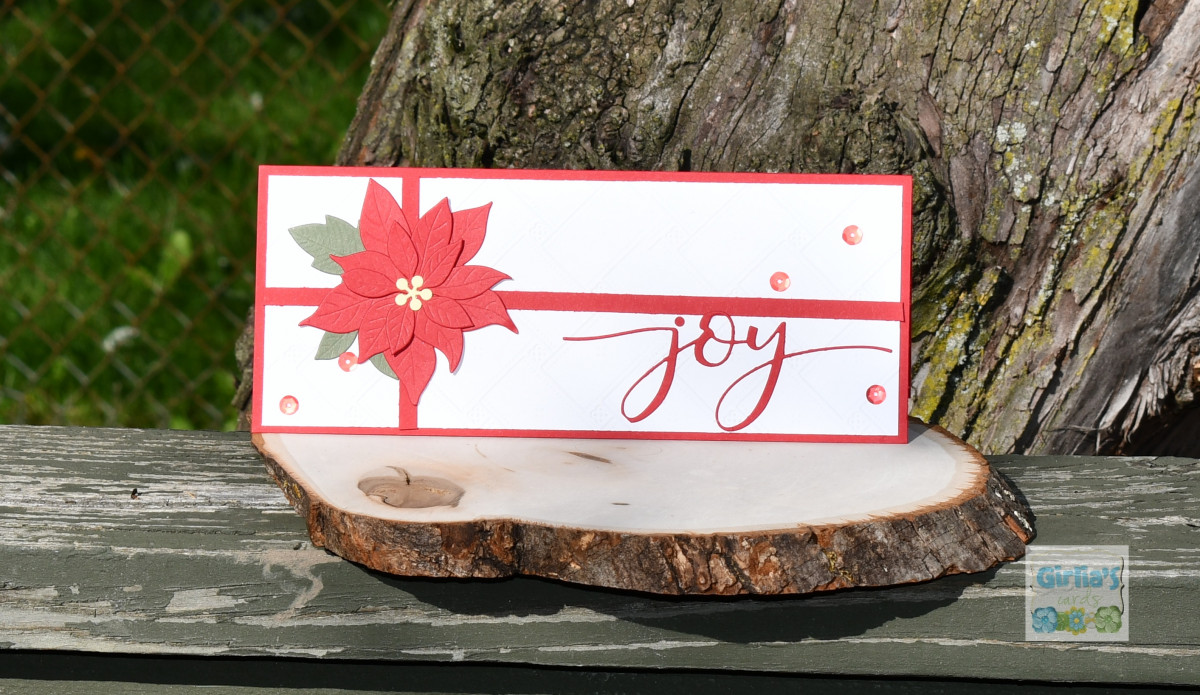
Hello Stampers!  Today I am participating in the Featured Stamper Challenge on Splitcoaststampers.  The Featured Stamper is Girlia and this is the card that I CASED.


I changed mine to an A2 card, but I kept everything else the same.  I cut my focal panel, and then assembled the poinsettia.  From there I adhered the ribbon, and adhered the poinsettia onto the focal panel.  Then I adhered the joy die cut to the focal panel, and adhered the focal panel to the card front.  For the inside I adhered another poinsettia and stamped and die cut my sentiment.  

That's all for now, thanks for stopping by!!
Terri

Sunday, July 16, 2023

Happy Holidays


Supplies:
Stamps: Stampin' Up Itty Bitty Christmas and Tidings and Trimmings (inside)
Paper: Gina K white and Stampin' Up Melon Mambo, Pumpkin Pie, Daffodil Delight, and Basic Black
Ink: VersaMark and Memento Tuxedo Black (inside)
Accessories: Spellbinders Bottle Brush Trees dies, Stampin' Up Frosted Flurry Dies, Embossing Folder Unknown, Honey Bee gem stickers, and Brutus Monroe alabaster white embossing powder

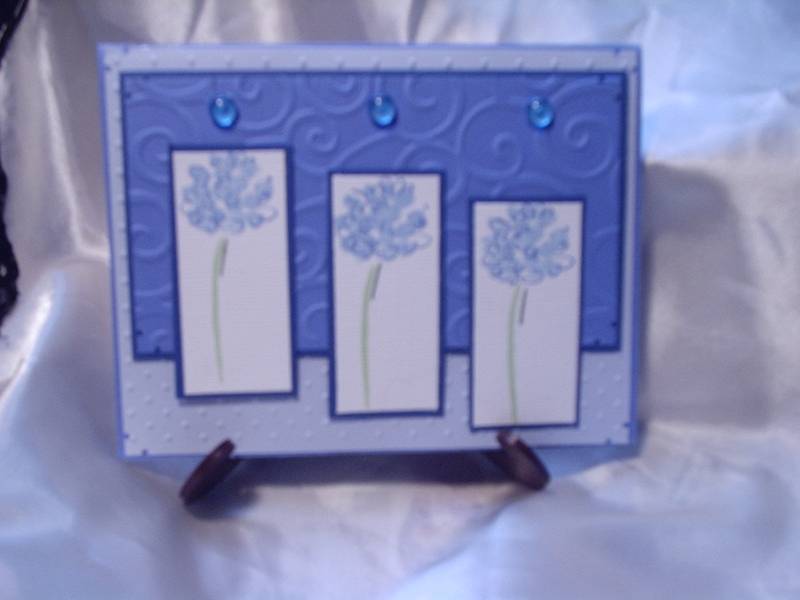
Hello Stampers!  It is time for Featured Stamper Sunday!  Today's Featured Stamper on Splitcoaststampers is Vicki, and this is the card I chose as inspiration for my card.  I kept the grouping of three, and used trees instead of flowers.  I put the gems at the top of my trees.  And I embossed the entire card front instead of using a combination of two embossed panels.

My sister requested a pink Christmas card, so this is about as close as I can get to that request!  To make this card I cut out a piece of printer paper 4.25x5.5 and folded it equally into thirds to figure out how big to make the backgrounds for my trees.  After I cut these out I adhered the trees with a gem at the top.  Then I adhered this grouping of trees onto a black mat.  Next I embossed the card front.   To finish the card I adhered the tree panel onto the card front, and added a sentiment.  

That's all for now, thanks for stopping by!!
Terri


Saturday, July 15, 2023

Christmas Cheer


Supplies: 
Stamps: Stampin' Up Itty Bitty Christmas and Christmas Means More (inside)
Ink: VersaMark and Memento Tuxedo Black
Paper: Gina K kraft and white, Stampin' Up Basic Black and Peaceful Prints
Accessories: Stampin' Up Kindest Gnome Dies, Memory Box Banner Sentiment Trio, May Arts Twine, Stampin' Up Winter Snow embossing folder, Brutus Monroe alabaster white embossing powder


Here is a video link so you can see my dancing gnome.  I tried to upload the video to my blog post, but Blogger won't let me! :(


Hello Stampers!  I made this card for the Free 4 All Challenge on Splitcoaststampers: Christmas In July.  I have had this dancing gnome made for awhile, so I challenged myself to make it into a card today.  I started by embossing the card front with a snowflake embossing folder.  Then I adhered the gnome to white cardstock and then matted it with black.  To the card front I added a black and red check strip matted in black and wrapped in twine.  Then I heat embossed the sentiment onto a banner, and added it to the card.  The finish the card I added a quick bow to the twine.  When trying to figure out what to put on the inside of this card I was reminded of the movie Elf, and how he says "The best way to spread Christmas cheer is singing loud for all to hear."  And I remembered that I had that stamp!  It worked out perfect!

Thanks so much for stopping by!!
Terri

Thursday, July 13, 2023

Just Bee-Cause


Supplies:
Stamps: Stampin' Up Honey Bee and Sunny Studio Just Bee-Cause
Ink: Memento Tuxedo Black and Stampin' Up Daffodil Delight
Paper: Gina K white and black onyx
Accessories: Stampin' Up Detailed Bee Dies, Gina K Master Layouts 3, Taylored Expressions Honeycomb Embossing Folder, Ribbon (Stampin' Up?)

Hello Stampers!  I made this card for two challenges today: Freshly Made Sketches and Ways to Use It: Bee Creative on Splitcoaststampers.  
To make my card I started by stamping and die cutting the honeycomb, bees, and sentiment.  Then I cut out the focal panel, embossed it, and attached my ribbon.  Next I adhered this to a black mat.  Then I arranged the honeycomb, bees, and sentiment and adhered them to the embossed panel.  I popped up the honeycomb with dimensionals so I could tuck my bees in underneath just a smidge.  For the inside I die cut some honeycomb and added some bees.  

Thanks so much for stopping by!!

Terri

Wednesday, July 12, 2023

Floral Birthday Greetings


Supplies: 
Stamps: Honey Bee Birthday Wishes (inside)
Ink: VersaMark (inside)
Paper: Gina K white and DCWV silver foil
Accessories: Taylored Expressions Dotted Lattice embossing folder, Poppy Flower Field Corner, Memory Box Happy Birthday Posh Script, Copic markers, DCWV gem stickers, Dare 2B Artzy Rectangle Framelits (inside), Ranger silver embossing powder (inside)

Hello Stampers!  I made this card using the Sketch from Splitcoaststampers.

For my card I started by embossing the card front.  Then I die cut and colored in the floral corner.  Next I die cut the Happy Birthday from silver foil paper, and adhered it to a white rectangle.  I matted this rectangle with silver foil paper.  I adhered everything into place and that completed my card.  It was an easy one.  I wish I could say it was a quick one since it is such a simple design!  LOL!!
Thanks so much for stopping by!!
Terri

Monday, July 10, 2023

Happy Birthday


Supplies:
Stamps: Stampin' Up Cottage Greetings (inside)
Paper: Gina K white and Stampin' Up Silver Glimmer Paper
Ink: Distress Ink: Saltwater Taffy, Scattered Straw, and Salvaged Patina, Memento Tuxedo Black
Accessories:  Gina K Birthday Trio Dies, Stampin' Up Stencil

Hello Stampers!!  I made this card using the sketch over at Freshly Made Sketches.  

To make my card I started with the Birthday die cut.  For the Happy, I used the Saltwater Taffy ink pad and swiped it on cardstock to color the paper pink.  Then I die cut the Happy letters out of it.  For the Birthday, I ink blended Scattered Straw and Salvaged Patina and die cut the Birthday word out of it.  To finish off the sentiment I adhered the Happy Birthday onto the silver glimmer paper background.  Next I used the stencil to create the background.  I added some strips of silver glimmer paper to frame it, and then popped up my greeting to finish the card.  

Thanks so much for stopping by!!
Terri
Sunday, July 9, 2023

Fluttering Birthday Wishes


Supplies:
Stamps: Stampin' Up Cottage Greetings
Paper: Gina K white and Stampin' Up Daffodil Delight
Ink: Stampin' Up Daffodil Delight
Accessories: Poppy Teardrop Butterflies, Taylored Expressions: Butterfly Swirls, Honey Bee Gems

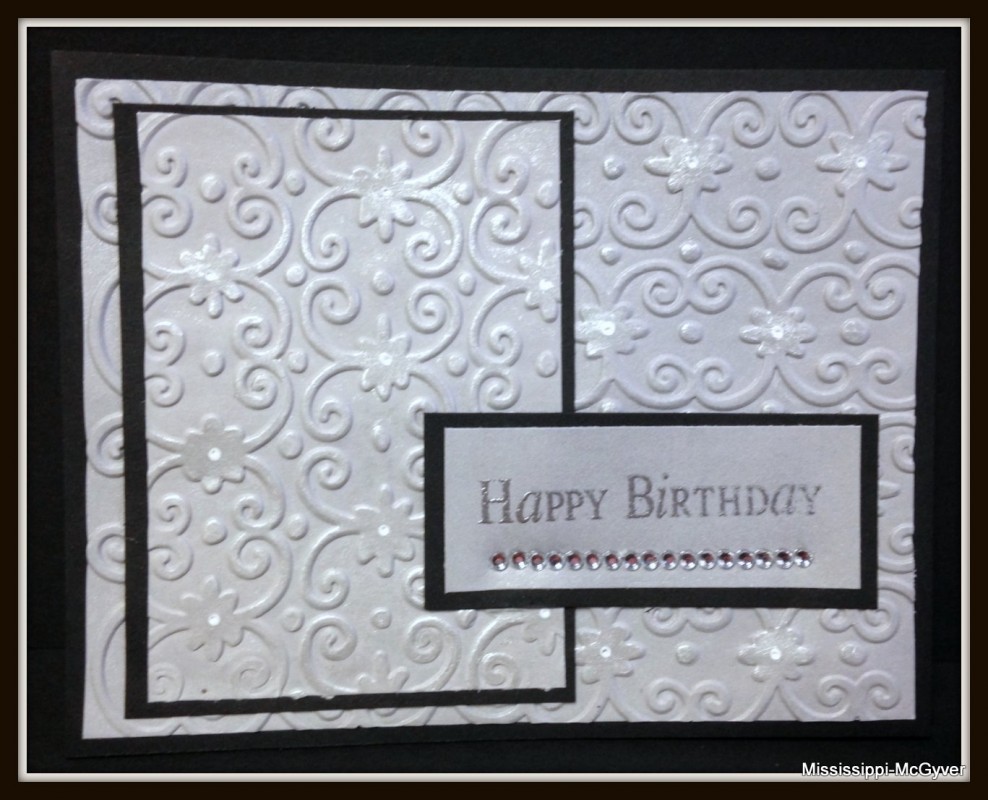
Hello Stampers!  It is Featured Stamper Sunday!!  The Featured Stamper on Splitcoaststampers is MariLynn.  This is the card I chose for inspiration:
I kept the same layout, but used a different embossing folder.  I changed the black to yellow, and added a butterfly to my sentiment rather than gems.

Thanks so much for stopping by!!
Terri

Thursday, July 6, 2023

Scrapbook Room Update


This is a picture of the before:


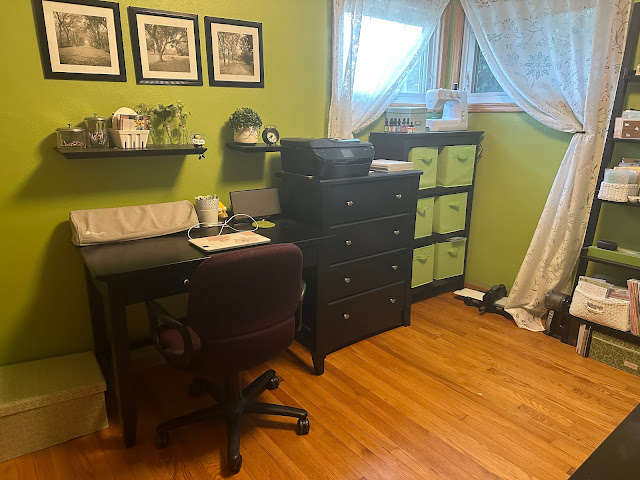
This is the after.  I swapped out my end table for a dresser.  


I needed more storage, and this dresser is only a little bit wider than what I had.  It will take some getting used to, but I am so happy.  I had so much stuff under my desk on the floor, and now I have a home for those items.  I have a lot of empty space in the dresser now, but I'm sure it won't take long to fill it up!  

Thanks for stopping by!!

Terri

Wednesday, July 5, 2023

More Sympathy Cards


Hello Stampers!  I went on Pinterest and there are a lot of examples of Distress Inks that work well together.  I picked out a couple of my favorites and made more of the sympathy card I made yesterday.  I'll list the Distress Inks I used under each card.
Fired Brick, Tea Dye, and Shabby Shutters

Dusty Concord, Milled Lavender, Saltwater Taffy

Spiced Marmalade, Scattered Straw, and Tumbled Glass

Thanks so much for stopping by!!  I am adding more storage to my craft room, hopefully it will be here tomorrow.  I'll post some before and after pictures. :)

Terri

Tuesday, July 4, 2023

With Heartfelt Sympathy


Supplies:
Stamps: Whimsy: Sympathy Silhouette, and Lizzie Anne (inside)
Paper: Gina K white and black onyx
Ink: VersaFine Clair: Nocturne, Distress Inks: candied apple, ripe persimmon, and fossilized amber
Accessories: Blending Brushes, May Arts twine, Studio Katia Majestic Confetti

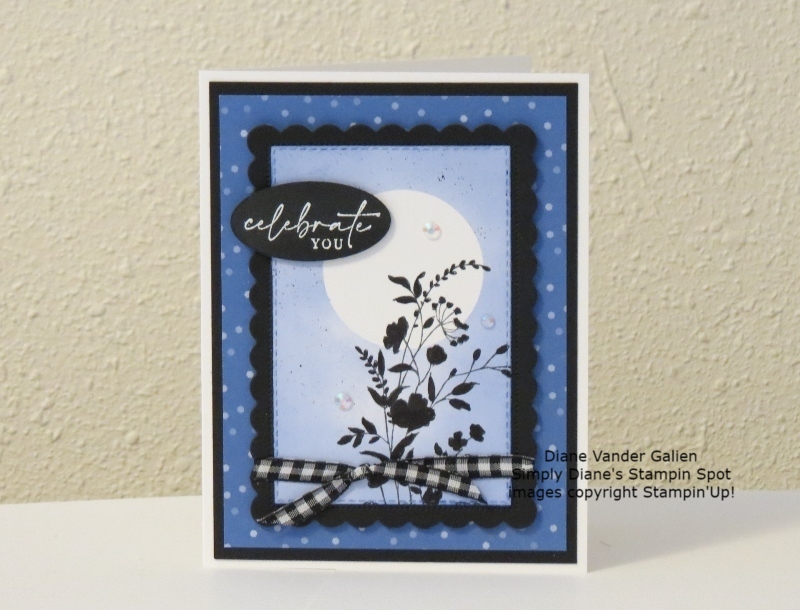
Hello Stampers!  I was busy on Sunday for the Featured Stamper challenge so I made my card this morning.  The Featured Stamper is Diane and this is the card I chose from her gallery as inspiration:


I changed my card to a 4.25x4.25 square size card.  I started with my focal panel, and blended the background.  Then I stamped the silhouette image and sentiment using my Misti.  I was not sure if I should add twine, but I decided to since Diane had a ribbon treatment on her card.  After I tied on the twine I popped this panel onto a black layer, and then adhered it to the card base.  To finish the card, I stamped a sentiment on the inside of the card.  

Thanks so much for stopping by!!

Terri


Saturday, July 1, 2023

Happy 50th Birthday


Supplies:

Stamps: Lawn Fawn Owen's ABCs
Ink: VersaMark
Paper: Gina K white, Stampin' Up black, garden green and real red
Accessories: Cuttlebug swiss dots embossing folder, Lawn Fawn Meadow Borders, Brutus Monroe Alabaster White embossing powder, 1/2 inch circle punch, toothpicks, numbers from Silhouette Cameo, Stampin' Up pennant punch, Waffle Flowers Additional Circles dies (inside), Stampin' Up Something Fancy Dies (inside)

Hello Stampers!!  My brother is turning 50 this month!!  I saw this card on Pinterest:


This card caught my eye with the way they added the pennants.  So that was what I started with.  I heat embossed the letters for happy and punched them out with a 1/2 inch circle punch.  Then I punched out the pennants and attached them to some toothpicks using Glue Dots.  I layed these out and then picked out a circle for the golf ball.  I die cut a white circle and then embossed it with the Swiss Dots embossing folder.  Then I die cut the grass border and the numbers for the card.  It was tricky getting this adhered, but I finally got it.  For the inside I die cut the grass border and another golf ball.  For the sentiment I computer generated and printed it, and then die cut it.  I think I'll have to send him a treat with this, it is pretty thick to mail on its own.    Thanks so much for stopping by!!
Terri