Sunday, November 27, 2022

Snowflake Aglow


 Supplies: Stamps: Stampin' Up Brightest Glow Ink: VersaMark Paper: Gina K Heavy Base Weight White, Simon Says Stamp Matte Silver Cardstock Accessories: Stampin' Up Labels Aglow Dies, Stampin' Up Stylish Shapes Dies, Simon Says Stamp Rina Snowflake Die, Ranger Silver Embossing Powder, Dimensionals

Hello Stampers!  This holiday weekend I spent a lot of time in my craft room finishing up my Christmas cards!  I have them addressed, stamped, and ready to mail tomorrow!  I think this is the earliest I have ever sent out my Christmas cards.  Today's card uses the sketch over at Freshly Made Sketches.  
To make my card I started with a white card base.  Then I die cut the "glow" onto a white layer measuring 3.75x5.  I matted this with the matte silver cardstock, and it shines through my die cut "glow."  Next I found a snowflake that would fit into the circle and die cut it out of silver matte cardstock, and adhered it to my card.  Now it was time for the sentiment.  I heat embossed the sentiment and die cut it out of a label die.  I used mini dimensionals to adhere the sentiment to the card.  All that was left was to adhere my focal panel to my card base.   

That's all for now, thanks for stopping by!

Terri

Sunday, November 20, 2022

Christmas Tree

Supplies: Stamps: Hero Arts Wishing You Tree  Ink: VersaMark  Paper: Gina K Kraft, and Layering Weight White, and Stampin' Up Riding Hood Red   Accessories: Spellbinders Hemstitch Rectangles, Waffle Flowers Additional A2 Dies, Recollections Pearl Stickers, Ranger Liquid Platinum embossing powder

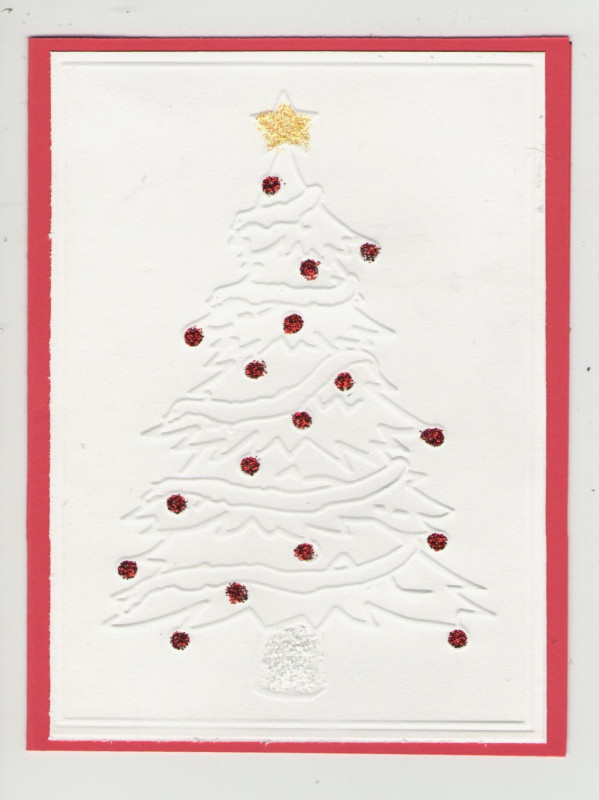
Hello Stampers!  It is Featured Stamper Sunday!  The Featured Stamper on Splitcoaststampers is Sarah.  Here is the card I chose as inspiration for my card:
To make my card I started with a Kraft card base.  Then I worked on the focal panel.  I did this three times before I got it!  I die cut the hem stitch die, then die cut around it with the plain rectangle die.  Next I heat embossed the tree in liquid platinum embossing powder.  I love the color of this embossing powder, it looks silvery and gold at the same time.  So pretty!  Then I added some teeny tiny pearls to the tree.  To finish the card I matted the focal panel on white so you can see the hem stitching, and then adhered this to my card base.  

Thanks so much for stopping by!!
Terri


Thursday, November 17, 2022

18th Birthday


Supplies: Stamps: PaperTrey Birthday Basics Paper: Gina K black and white, SU real red  Ink: Memento Tuxedo Black Accessories: embossing folder ?, Julie Hickey Sweet Pea Numbers die set

Hello Stampers!  The Ways To Use It challenge is to add dimension to your card.  I added foam tape to the back of my focal image to add dimension to my card.  
To make this card I started with a black card base, added a red layer, and then embossed the focal panel.  Then I worked on the focal image.  I stamped happy birthday on the focal image, and then die cut the 18th and adhered it to the focal image.  To finish the card I popped the focal image up using dimensionals.

Thanks so much for stopping by!
Terri

Sunday, November 13, 2022

Ladybug Wishes


Supplies: Stamps: Stampin' Up Little Ladybug Ink: Memento Tuxedo Black and VersaMark Paper: Stampin' Up Real Red, Gina K layering weight white, and Hero Arts Pitch Black Accessories: Gina K Master Layouts 2&4, Copic markers, Dimensionals, Brutus Monroe Alabaster White embossing powder, Stampin' Up Ladybug Dies

Hello Stampers!  I made this card using the Freshly Made Sketches, sketch of the week.
To make my card I started with a red card base.  Then I die cut the focal panel, stamped the flower, and colored it in with Copic markers.  Next I stamped, die cut, and colored in the ladybug.  I adhered the ladybug with dimensionals.  For the sentiment I heat embossed it and die cut it.  To finish the card I adhered the sentiment, and adhered the focal panel to the card base.

Thanks so much for stopping by!!

Terri

Cardinal Christmas

Supplies: Stamps: Our Daily Bread Designs: Cardinal Ornament  Ink: Memento Tuxedo Black Paper: Gina K heavy base weight white and layering weight white Accessories: Darice embossing folder, Copic markers, dimensionals, Waffle Flower: Additional circles die

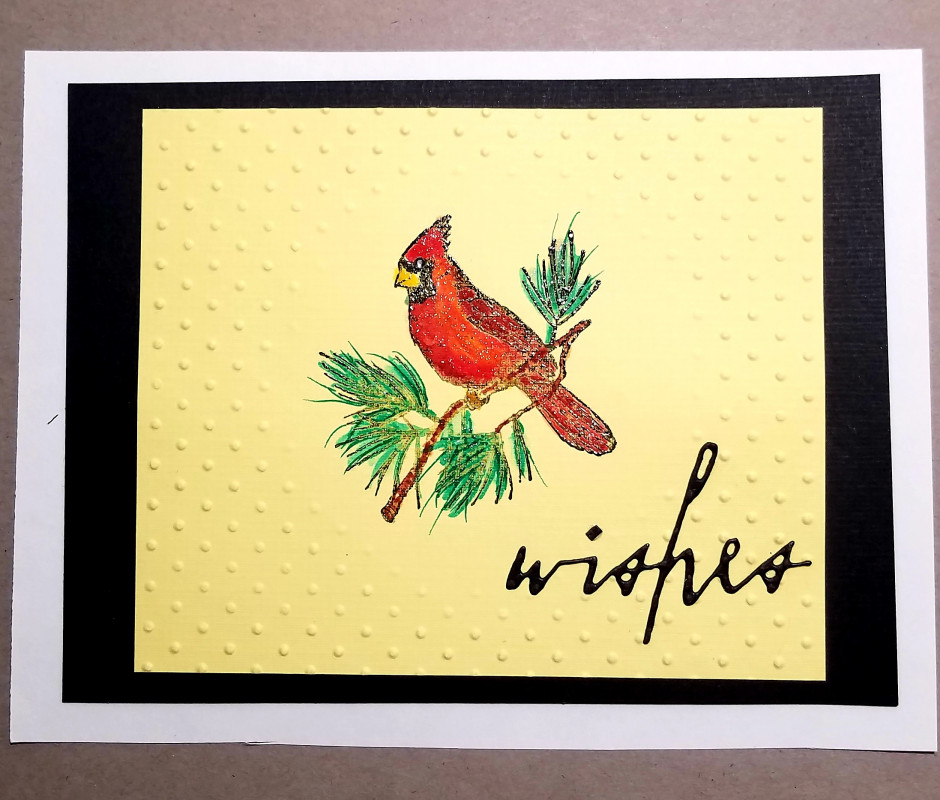
Hello Stampers!  It is Featured Stamper Sunday on Splitcoaststampers!  I chose this card from the Featured Stamper's gallery.

To make my card I started with a white card base, cut the focal panel from layering weight white, and embossed it.  Then I stamped and die cut the focal image with a circle die cut.  Next I colored in the focal image with Copic markers.  To finish the card I popped up the focal image with dimensionals and adhered it to the embossed panel.

Thanks so much for stopping by!

Terri

Saturday, November 12, 2022

Merry Christmas

Supplies: Stamps: Honey Bee Joy  Paper: Gina K white, DCWV silver foil paper  Ink: SU real red  Accessories: Sunny Studio: Merry die, Stampin' Up Labels Aglow dies, dimensionals, bakers twine.

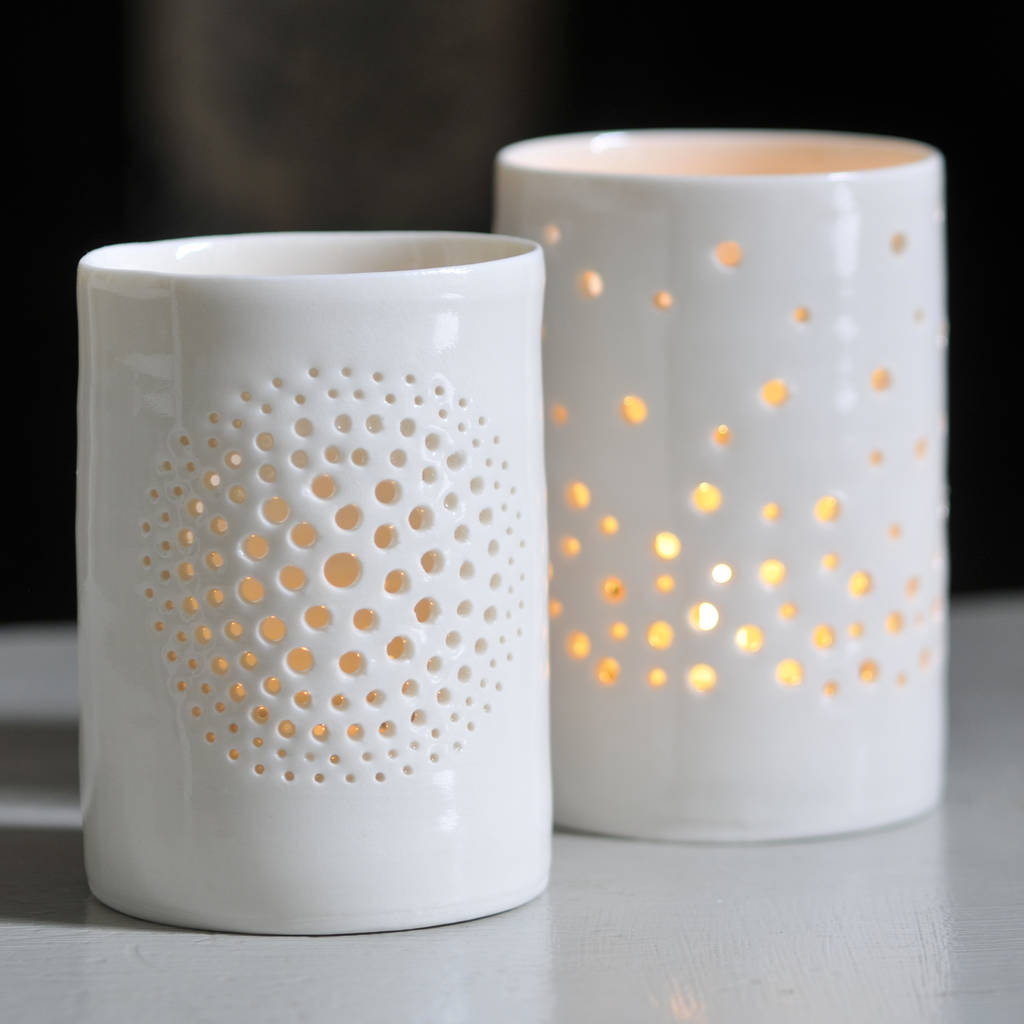
Hello Stampers!  Today there is an Inspiration Challenge (Chapters Indigo Christmas) on Splitcoaststampers. I chose the following image as inspiration for my card.  The pierced bubble pattern reminded me of the Label Aglow die.
This was a pretty simple card to make (my favorite kind.). I started with a white card base, then cut the focal panel out of white, and die cut the dotted frame.  To this I added the silver die cut merry, and used my stamp a ma jig to stamp Christmas.  To finish the focal panel I added some red and white twine.  

Thanks so much for stopping by!!

Terri

Sunday, November 6, 2022

Reindeer Cheer


 Supplies: Paper: SU crumb cake, riding hood red, early espresso, garden green Gina K white, PaperCut sno cone, DCWV silver foil Accessories: PoppyStamps: Whittle Forest Reindeer Kit, Lawn Fawn Stitched Snowflake Backdrop, Essentials by Ellen Alpine snowfall, Waffle Flowers-Additional circles dies, Lawn Fawn Stitched Hillside Borders, Bakers' Twine, red gem

Hello Stampers!  I made this card using this weeks Freshly Made Sketches sketch.  
To make this card I started with a crumb cake card base.  For the two panels I die cut the Lawn Fawn stitched snowflake backdrop. For the focal panel there was a lot of die cutting.  I started with the alpine snowfall in sno cone.  Then I die cut a white circle to put behind the alpine snowfall piece.  Then I die cut the reindeer and tree and adhered it to the focal piece. I wrapped the bakers twine around the card base, and then adhered the focal panel with dimensionals.  And to finish the card I adhered a bow to the bakers twine.  This was a fun card to make, I love all of the die cutting!!
Thanks for stopping by!!

Terri

Wreath Christmas


Supplies: Stamps: SU Wondrous Wreath, SU Peaceful Wreath  Ink: Memento tuxedo black Paper: real red and white Accessories: Copic markers, SU real red ribbon

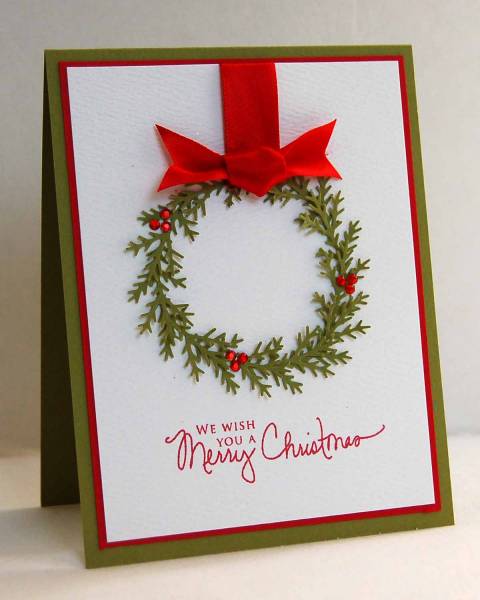
Hello Stampers!  It is time for the Featured Stamper Challenge on Splitcoaststampers.  Here is the card I chose as inspiration for my card.  
For my card I cut a red card base, and a white focal panel.  I stamped and colored the wreath with Copic markers.  To finish the card I added a ribbon treatment and a sentiment.

Thanks so much for stopping by!!
Terri