Monday, August 31, 2020

Teacher Appreciation


Supplies: Stamps: Delightful Dozen  Paper: GKD white and black onyx, SU real red, old olive, pear pizazz, chocolate chip  Ink: GKD jet black  Accessories: Paper Studio embossing folder, brads, glossy accents, apple die cut Quickutz

Hello!  It is back to school for me tomorrow.  We are going virtual for the first two weeks.  We will see how it goes!  This ties into the theme for the CAS challenge on SCS:  teacher appreciation.  I embossed the paper with an embossing folder.  Then I die cut and assembled the apple die cut.  I added some glossy accents when it was put together to give the card some shine, and adhered it to the card with dimensionals.  I found a thank you sentiment that fit between the lines of the embossing, and stamped it using my stamp a ma jig.  I felt like the card needed something else, so I put some brads in the "paper holes."  I adhered the white panel onto a black card base, and that completes the card.

Thanks so much for stopping by!

Terri

Saturday, August 29, 2020

Happiest of Birthdays


 Supplies:  Stamps: SU Happiest of Birthdays and Daisy Lane  Ink: Lawn Fawn: lobster, carrot, sunflower  Paper: GKD white and black onyx  Accessories: SU rectangle stitched framelits, SU daisy punch, SU large gems

Hello!  Well I got my first week of work in, it was a long week.  So I decided to take some time to stamp today!  I found the Freshly Made Sketches, sketch of the week, and had some inspiration right away.

The birthday stamp came to my mind right away when I saw this sketch.  I originally wanted to use the Lawn Fawn sunflowers for the three circles but the big one was too big, and the small one was too small.  So I went digging through my supplies and found the Daisy Lane stamp set, and the smaller daisy was just right.  I thought it would be fun to have a rainbow look to the flowers, so that is how I chose my colors.  This was a pretty simple card to make, but I really like how it turned out.

Thanks so much for stopping by!

Terri

Sunday, August 23, 2020

Golden Wings


Supplies:  Paper: GKD white and SU gold foil  Accessories:  SU large doily die cut and SU butterflies thinlits

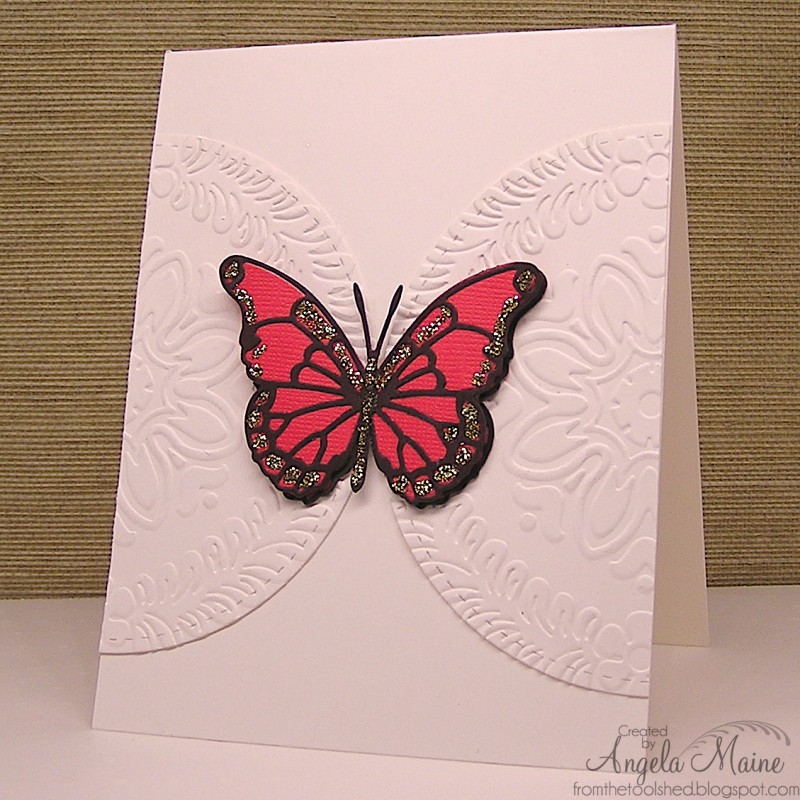
Hello!  It is my last day of summer vacation and I have been busy all day trying to make the most of my last hours.  One of the things on my list was to make a card.  So I decided to participate in the Featured Stamper challenge on SCS.  This week the Featured Stamper is Arizona Maine and this is the card I CASED.
I used a die cut instead of an embossed circle, and I changed the color scheme to white and gold.

Well it is back to school tomorrow.  Hopefully I will be able to find time to make cards throughout the school year!!  I miss summer already...

Thanks for stopping by!

Terri

Friday, August 14, 2020

The Monster Mash

Supplies:  Stamps: Impression Obsession Monster Mash  Paper: GKD black and white, patterned papers from a variety of 6x6 paper pads.  Ink: Memento tuxedo black  Accessories:  copic markers, dimensionals, black Offray ribbon, black adhesive spots

Hello Stampers!  I'm back with another Halloween card.  I love the monsters in the Monster Mash stamps set, they are too cute and so fun to color.  The hardest part of making this card was picking out the patterned papers.  I was flipping through all of my 6x6 paper pads and I finally found a couple that would go together for this card.  I adhered all of my layers, added some ribbon, added the self adhesive dots, and the focal image to complete this card.  Now I have my Christmas cards and my Halloween cards complete!   Wow, that never happens.  I do have a nephew with a Halloween birthday, that will have to be my next project. 
Thanks so much for stopping by!

Terri

Thursday, August 13, 2020

Slimline Happy Halloween


Supplies: Stamps:  Impression Obsession  Paper:  GKD black and white cardstock  Ink:  Memento tuxedo black  Accessories: copic markers, dimensionals
Hello Stampers!  Slimline cards are all the rage right now.  The sketch of the week on Splitcoast Stampers was a slimline card, so I thought I would hop on the wagon and try one.  Here is the sketch:

 So I took the clean and simple route with this sketch.  I added monsters instead of triangles, colored them in with copic markers, and added some sequins for a little bling.  Then I popped up the panel onto my card base with dimensionals.  Pretty easy peasy, just a lot of coloring.

Thanks so much for stopping by!

Terri

Wednesday, August 5, 2020

Merry Christmas!

Supplies:  Stamps:  Good Greetings  Paper: kraft, white, red  Ink: Gina K jet black  Accessories:  SSS Rina Snowflake die, triple banner punch, Hero Arts infinity circle dies, gem, dimensionals

Hello Stampers!  I made this card using the sketch from SCS, and the color challenge of the week.
To make the card I started by cutting the focal panel and die cutting a circle towards the top of the panel.  I adhered a piece of red cardstock behind the die cut circle.  Then I die cut the snowflake and added it toward the top of the red circle.  Next I stamped and popped up my sentiment. And that completes my card.  

Thanks so much for stopping by!!

Terri

Tuesday, August 4, 2020

Christmas Mouse Greetings

Supplies:  Stamps:  Gina K Noelle Mouse  Paper: kraft, white, red cardstock and patterned paper unknown  Ink: Gina K jet black and VersaMark  Accessories:  circle die cut, triple banner punch, detail white embossing powder, copic markers

Hello Stampers!  Today I am participating in Gina K's Monthly Mix Challenge for August.  The challenge is to use white space.  This was my kind of challenge as I like to make clean and simple cards.  For this card I started with kraft square card base 4.25 x 8.5 and scored it in the middle.  Then I cut my next layer 3.25 x 3.25 in white.  I found a circle die cut that would accommodate the mouse and candy cane and die cut it in the center of the white panel.  Next I adhered the striped patterned paper behind the white circle.  I decided to work on the sentiment next.  I cut a strip of red cardstock, stamped the sentiment in VersaMark, and heat embossed it.  I used my triple banner punch to cut the sides of the sentiment.  Next I colored and cut out the mouse and candy cane.  When I was fussy cutting out the mouse I decided I would stamp the mouse onto the patterned paper so I wouldn't have to fussy cut the tail.  To finish the card I adhered the sentiment, mouse, and candy cane to the card.  And this completes my card.

Thanks so much for stopping by!!

Terri 

Sunday, August 2, 2020

Peek A Boo Happy Halloween

Supplies:  Stamps:  SU Wonderfully Wicked and Spooky Sweets  Paper: GKD heavy base weight white and orange glitter paper  Ink: GKD jet black  Accessories:  Hero Arts circle infinity dies, and Spellbinders rectangle die

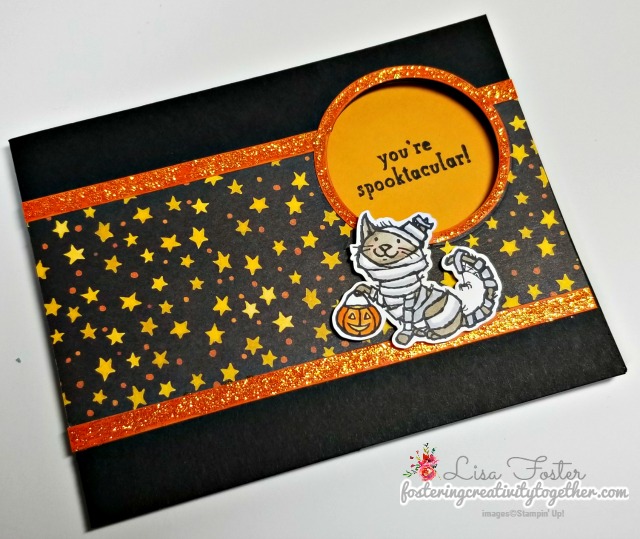
Hello Stampers!  Today brings us the Featured Stamper challenge on SCS.  The featured stamper this week is Lisa Foster.  I chose this card as inspiration for mine.

To make my card I started by die cutting the circle for the sentiment from the card base.  Next I embossed the Spellbinders rectangle die cut.  Then it was time to stamp.  I used my stamp a ma jig to stamp the spider web and cat.  Then I taped my card closed and stamped the sentiment on the inside of the card.  Lastly, I die cut an orange glitter frame for the sentiment and adhered it to the card.  My nieces love cats, so this card will be headed their way for Halloween!!  Thanks so much for stopping by!!

Terri

Saturday, August 1, 2020

Sweet Witch Halloween Greetings

Supplies:  Stamps:  Unity Stamp Company:  A Tiny Witch, SU Haunted Forest  Paper:  GKD black and white, Bazzill purple, Echo Park spider web patterned paper  Ink: Memento tuxedo black and VersaMark  Accessories:  copic markers, detail white embossing powder, dimensionals

Hello Stampers!!  I'm going from one holiday to the next!  When I saw the Paper Players sketch I immediately thought of this stamp.  

To make the card I started with a black card base.  Then I cut out a purple layer.  Next I went through my patterned paper to pick out a pattern for the diagonal strip.  I decided on some spider web patterned paper.  Then it was time to stamp and color the focal image.  I added a black mat to the focal image, and then I added a sentiment that I heat embossed on black cardstock.  After I adhered the sentiment, I popped up the focal image with dimensionals and added it to the card.  That completes the card!

Thanks so much for stopping by!

Terri 
Flourish Snowflake Christmas Greetings

Supplies:  Stamps:  Impression Obsession Snowflake Flourish Large, Hero Arts Merry Christmas Script  Ink: VersaMark and GKD black  Paper:  Metallic silver, GKD layering white  Accessories:  SU triple banner punch, GKD large square die cut, Sizzix snowflake embossing folder, silver embossing powder, self adhesive gems

Hello Stampers!  I am trying to finish up my Christmas cards before summer ends.  I need about 5 more, so I made this one and I think I will duplicate this one.  To make the card I started with the layers of the card.  I cut a layer of white, then I cut and embossed the silver layer.  Next I heat embossed my snowflake with silver embossing powder and die cut it with Gina K Designs large square die cut.  Then, I cut out a silver metallic mat for my snowflake image.  After this I created the sentiment.  I stamped the sentiment and then used the triple banner punch to create the banner edge.  I cut out a piece of silver metallic cardstock to mat the sentiment and punched out the banner edge.  Lastly, I added some bling!  I added three gem stones to the sentiment and one gem to the center of the snowflake.  And that completes my card.

Thanks so much for stopping by!!

Terri