Thursday, December 31, 2020

Jingle Christmas Greetings

Supplies: Stamps: SU Cherish the Season Ink: Memento tuxedo black Paper: white, real red, silver foil Accessories: SU real red trim, SU Sounds of the Season dies, dimensionals

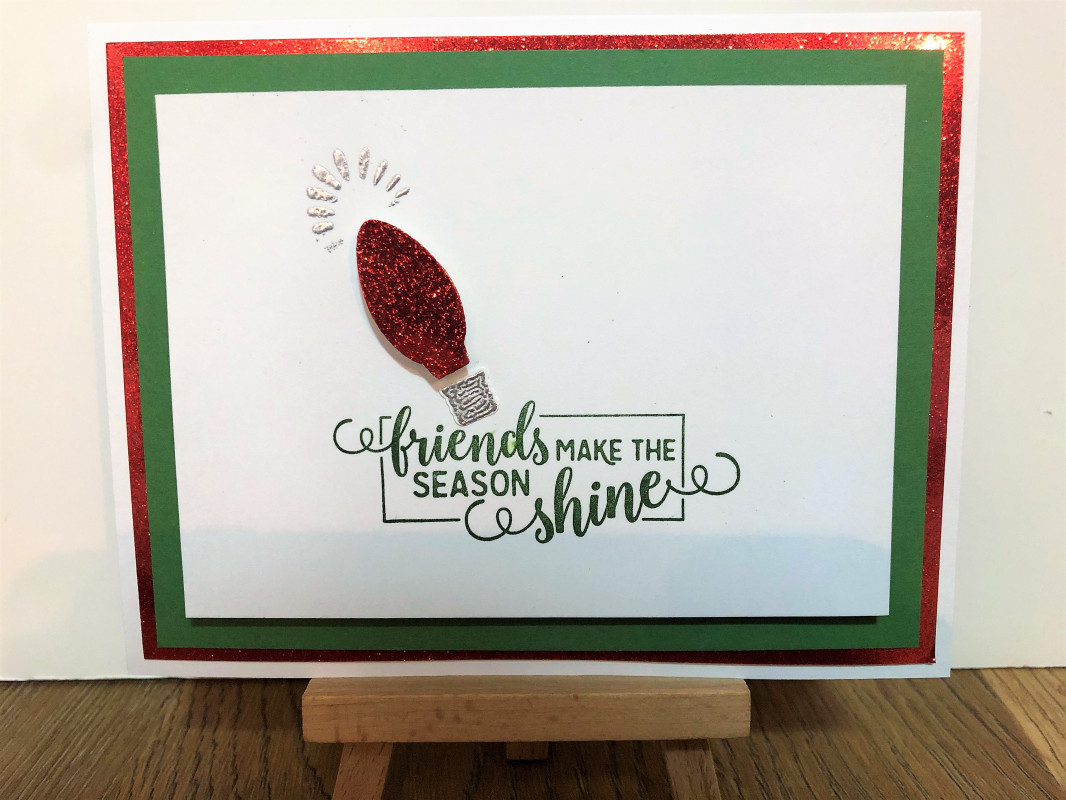
Hello Stampers!  I seriously cannot stop making Christmas cards!  I guess I have a lot of Christmas spirit this year.  The Ways to Use It challenge on SCS is Ring in A New Start.  So I thought of these jingle bells to use for the challenge.  This is a very clean and simple card.  I die cut the jingle bells, added some bows and trim, adhered them onto the layers of the card, stamped a greeting, and adhered it altogether.  I hope everyone has a Happy and Safe New Year!  

Thanks for stopping by!

Terri


Wednesday, December 30, 2020

Snowy Christmas Greetings 2

Supplies: Stamps: Gina K Holiday Scripty Paper: kraft, white, and cherry cobbler Ink: Memento tuxedo black Accessories: Gina K snowflake edger, sparkly gems, Offray ribbon, scoring tool

Hello Stampers!  When I saw the sketch from Splitcoast Stampers it reminded me of the card I made yesterday!  So I tweaked it a little bit to fit all of the sketch lines.  Here is the sketch:

For layer 5, I die cut the snowflake edger, and adhered it onto cherry cobbler paper, then the kraft card base.  For layer 4 I used ribbon.  Layer 3 I stamped my sentiment.  Layer 2 I added some embossed lines.  And for Layer 1 I left it blank.  I'm not sure which card I like better, todays or yesterdays?!  What are your thoughts?  Leave me a comment below.

Thanks for stopping by!

Terri


Tuesday, December 29, 2020

Snowy Christmas Greetings

Supplies: Stamps: Gina K Scripty Holiday Ink: Gina K jet black amalgam ink Paper: Gina K white and kraft Accessories: Gina K snowflake edger, red Offray ribbon, red gems

Hello Stampers!  I can't seem to stop making Christmas cards, LOL!  Maybe I will just keep going until they are done for next year!  I made another card for the snow themed Clean and Simple challenge on SCS.  I die cut the snowflake edger out of white cardstock, and used spray adhesive to adhere it to the kraft card base.  Then I stamped the sentiment using my Misti.  Lastly, I used the stay put bow technique to attach the ribbon.  Quick and simple!  My kind of card!!

Thanks so much for stopping by!

Terri


Monday, December 28, 2020

Let It Snow!

Supplies: Stamps: Lawn Fawn: snow cool Ink: Memento tuxedo black,VersaMark, Distress Ink: tumbled glass and chipped sapphire Paper: Gina K white Accessories: Lawn Fawn stitched hillside borders, Brutus Monroe white embossing powder, pom pom, Copic markers, dimensionals

Hello Stampers!  I woke up to a blanket of snow in my yard.  Just enough to make everything bright and sparkly.  So when I saw the SCS clean and simple challenge was snow I had to play along.  I pulled out a set that I have never used before.  With a name like Snow Cool, I thought that would be perfect.  I started by heat embossing the snow onto a 3.75x3.75 square.  Then I used a blending brush to shade in the sky.  Next I die cut the snow hills, and stamped on the sentiment.  After this I stamped, colored, and fussy cut out the penguins.  They are just too cute playing in the snow.  I popped up one of the penguins onto to focal panel and adhered one directly to the focal panel.  I also added a fun pom pom to the penguins snow cap.  This was a fun card to make!  

Thanks so much for stopping by!

Terri


Sunday, December 27, 2020

Let's Celebrate You

Supplies: Stamps: Celebrate Sunflowers Ink: Chocolate Chip Paper: white, old olive, bumblebee, and chocolate chip Accessories: Sunflower Dies, Bumblebee gingham ribbon and Linen Thread

Hello Stampers!  Happy Sunday!!  I still have another whole week off of school!  I am loving the time off!  Today is the Featured Stamper challenge on SCS.  Today's featured stamper is Ina, and this is the card that gave me inspiration for my card:
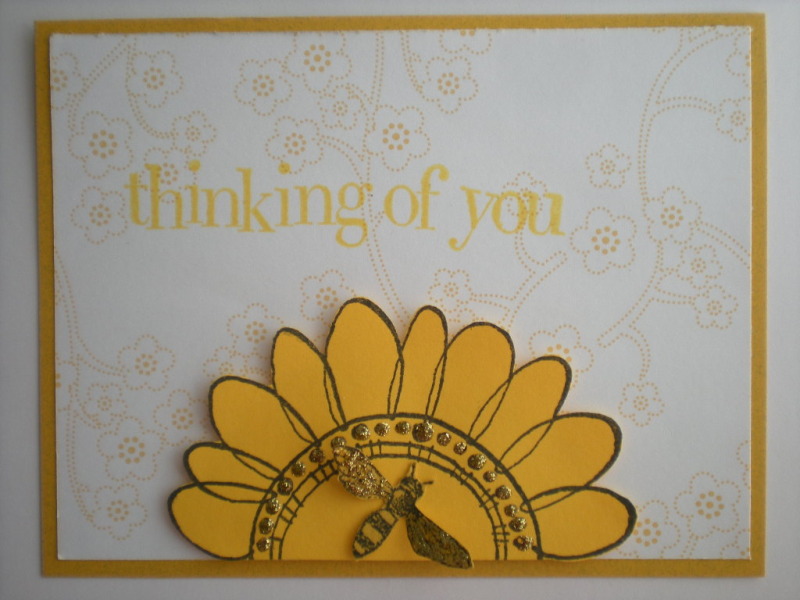
To make my card I started with a white card base.  For the flower I die cut the sunflower and leaves and adhered it to the white focal panel.  Then I trimmed off the excess with scissors.  I then stamped the sentiment with chocolate chip ink.  Then I remembered I had some bumblebee gingham ribbon and wanted to incorporate that onto the card.  So I attached it to the corner of the white panel and added a bow with linen thread.  All that was left was to adhere the panels together and attach it to the card base.  That's all for now!

Thanks for stopping by!!

Terri


Saturday, December 26, 2020

Valentine Wishes

Supplies: Stamps: Savvy Stamps: Valentine Wishes Script Ink: VersaMark Paper: Gina K white and black onyx, SU cherry cobbler. Accessories: Spellbinders: Vines of Passion, Cuttlebug embossing border, Brutus Monroe alabaster white embossing powder, dimensionals

Hello Stampers!  Happy Saturday!  The challenge on SCS today is the inspiration challenge.  There was a Pinterest board full of decorated doors to choose from as inspiration.  Here is the door that caught my eye.
The white heart against the black and deep red really caught my eye.  So I made some black panels using a Cuttlebug embossing border folder.  I started with two like the door, but on the card it looked like something was missing so I made a third panel.  It seemed to balance things out for me.  Then I adhered the panels to the cherry cobbler focal panel.  Next I die cut the white heart and popped it up using dimensionals.  For the sentiment I heat embossed it with detail white embossing powder.  Lastly, I adhered the focal panel to the card base.  I went back and forth between a white and kraft card base.  What would you have chosen?   Leave me a note in the comments.  

Thanks for stopping by!

Terri


Friday, December 25, 2020

Ho! Ho! Ho!

Supplies: Stamps: Gina K Noelle Mouse Paper: kraft, white, real red, and silver glitter cardstock Ink: Memento tuxedo black Accessories: Gina K Decorative Tag Set and Master Layouts 3, Spellbinders scalloped circle, Offray ribbon, baker's twine, Copic markers, Cuttlebug embossing folder, white Gelly Roll pen

Merry Christmas Stampers!  I hope you all are having a wonderful day!  We are just at home today, we did all of our celebrating already.  So I thought I would participate in Gina K's Monthly Mix Challenge.  This month it is a tic tac toe challenge.
I chose to go diagonally and do the circle, square, and tag.  I also think this card works for the Free for All challenge on SCS, to use a speech bubble.  The tag is like the speech bubble for the mouse.

To start I cut the square card base from white, and cut the kraft layer.  I embossed the kraft layer with the snowy Cuttlebug embossing folder.  I felt like it needed something so I used a white gel pen and dotted the snowflakes in white.  I really like how it turned out.  Then it was time to work on the circle.  I used that cute mouse again.  I stamped it and die cut it out of white cardstock.  For the layers I cut a silver glitter circle and a red scalloped circle.  Next I colored in the mouse and added the Santa hat and candy cane after I colored and fussy cut them out.  I added a pom pom to the Santa hat and that completed the focal image of the card.  I adhered the focal image with dimensionals towards the center of the card, leaving room for the ribbon, and I attached the tag to the ribbon with baker's twine.  Then all that was left was to adhere all of the layers.  

Thanks so much for stopping by!!

Terri


Thursday, December 24, 2020

Wishing You Joy and a Happy New Year

Supplies: Stamps: Gina K Christmas Silhouettes Paper: Paper Studio patterned paper, Gina K black onyx and white, SU riding hood red Ink: VersaMark Accessories: Simon Says Stamp Big Joy, Simon Says Stamp Detail Ringlet Plate, Honey Bee Stamps: Winter Bouquets, Brutus Monroe alabaster white embossing powder, SU beaded pearls

Hello Stampers!  Merry Christmas everyone!!  I made this card for the Freshly Made Sketches, sketch of the week.  Here is the sketch:

I had fun making this card, I love using die cuts!  I started this card with the focal panel.  I used the ringlet plate on the focal panel to add some texture to the card.  Then I die cut the word joy and the poinsettia and adhered them to the center of the focal panel.  Next I stamped and embossed the sentiment and adhered them to the card.  After this I cut a piece of patterned paper to go behind the focal panel.  I used the same patterned paper as the letters to tie the card altogether.  I adhered the layers together and adhered them to my card base.  And that completed my card.

Thanks so much for stopping by!  

Terri


Wednesday, December 23, 2020

Thinking of You

Supplies: Stamps: SU Painted Poppies, Hampton Art: Kelly's Thinking of You  Ink: VersaMark and Memento tuxedo black Paper: SU gray granite and white Accessories: SU gray granite ribbon and Copic markers

Hello Stampers!  Today is the Sketch Challenge on SCS.  Here is a picture of the sketch.

I started by stamping the poppy on the gray granite card stock with VersaMark ink and let it dry while I worked on the rest of the card.  I used my stamp a ma jig to stamp a row of the field of poppies.  Then I colored the flowers in with Copic markers.  Next I attached the ribbon using the stay put bow method.  After this I stamped the thinking of you sentiment, and attached the focal panel with dimensionals.  Lastly I adhered the layers together to complete the card.  And that completed my card.

Thanks so much for stopping by!!

Terri


Tuesday, December 22, 2020

Candy Cane Merry Christmas Mouse

Supplies:  Stamps: GKD Noelle Mouse Paper: kraft, white, and cherry cobbler Ink: Versamark and Memento tuxedo black Accessories:  Brutus Monroe alabaster white embossing powder, Prismacolored pencils, copic markers, SU stitched circle die, Spellbinders scalloped circle die, SU banner punch

Hello Stampers!  Do you watch any of Gina K's stamp and chat's?  Last week she embossed some snowflakes with white embossing powder and colored them in with a white colored pencil.  I thought this would be fun with candy canes.  So I embossed the candy canes with white embossing powder and colored them in with white and red colored pencils to create the background.  For the focal image I stamped the mouse in memento tuxedo black ink so I could color him with copic markers.  Then I die cut him with the stitched circle positioning the mouse towards the top so my sentiment would fit underneath him.  I matted the stitched circle with a scalloped circle.  Next I worked on my sentiment.  I heat embossed the sentiment and used the banner punch on the ends to finish the sentiment piece.  I adhered this to the focal image, and then embossed another candy cane, colored it, and cut it out.  I popped it up with dimensionals to the focal image.  Lastly I adhered all of the layers together to finish the card.  This was a fun card to make!

Thanks so much for stopping by!

Terri


Monday, December 21, 2020

Season's Greeting

Supplies:  Stamps: In the Pines Ink: Memento tuxedo black Paper: kraft and white Accessories: Winter Snow embossing folder, Pine Woods Dies, baker's twine

Hello Stampers!  Today is the Clean and Simple challenge on SCS.  The theme of the challenge today is trees.  I started my card by embossing the kraft card base with the winter snow embossing folder.  Then I die cut the snow slope for the bottom of the card, and stamped the sentiment.  Next I die cut the tree out of kraft paper, added a snow slope to the bottom of the focal panel, and white to the back of the tree.  I popped the focal panel up with dimensionals, and tied on some baker's twine to complete the card.

Thanks so much for stopping by!

Terri


Monday, December 14, 2020

Falling Snowflakes

Supplies: Stamps: Gina K Christmas Greenery Paper: Gina K black onyx and heavy base weight white Ink: Gina K jet black and Distress Ink tumbled glass Accessories: Gina K stellar snowflake stencil and clear sequins

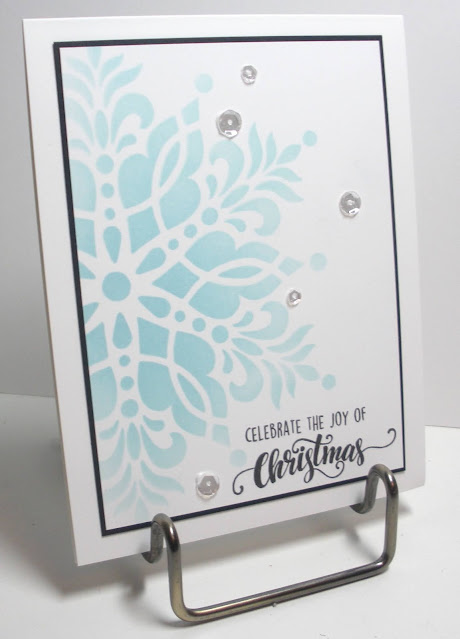
Hello Stampers!  I went to my Mom and Dad's yesterday and made a bunch of Christmas cookies, so I missed the featured stamper challenge.  So I thought I would participate in the clean and simple challenge today.  The theme of the challenge is falling snowflakes.  For my card I used a snowflake stencil and blended on tumbled glass ink.  I tried to get it darker at the center of the snowflake and fade out as I got to the edges.  To finish the card I added some sparkly sequins and a sentiment.  

Thanks so much for stopping by!!

Terri


Saturday, December 12, 2020

Celebrate the Season

Supplies:  Stamps: Itty Bitty Christmas Paper: white, real red, garden green, pear pizzaz, silver foil, Heartwarming Hugs DSP Ink: real red Accessories: braided twine, Sounds of the Season dies, dimensionals, Hero Arts tags infinity dies

Hello Stampers!  It is a snowy day here today, a great day to hang out in the craft room.  I made this card for the Freshly Made Sketches sketch of the week:
To make this card I started by picking out some patterned paper, and matting it with some red cardstock.  Next I die cut a tag out of white cardstock, and decorated the tag with the jingle bell die cut, greenery, and braided twine.  Then I stamped my sentiment using my trusty ole stamp a ma jig.  I adhered the tag to the card with dimensionals.  And that completed the card.  Now off to do laundry and clean the house!

Thanks for stopping by!!

Terri


Wednesday, December 9, 2020

Have a Sweet Christmas


 Supplies:  Stamps: Lawn Fawn Sweet Christmas Paper: SU crumb cake and riding hood red, swiss dot red from stash Ink: VersaMark  Accessories:  Lawn Fawn Sweet Christmas dies, Spellbinders die cut, and Hero Arts circle infinity dies, sponge

Hello Stampers!  Today is the sketch challenge on Splitcoast Stampers.  Here is the sketch:
With the challenge was a challenge to use a fancy fold card called Double Dutch Fold.  I have never made a double dutch fold, so I gave it a whirl.  It was a fun card to make, embossing and die cutting from one of my favorite Lawn Fawn sets.  That's why I enjoy doing challenges so much, they challenge me to try new things.

Thanks so much for stopping by!!

Terri

Sunday, December 6, 2020

Sparkly Christmas Mouse

Supplies: Stamps: Stampendous Max Wheels, Endless Creations Snowpile Stamp, Hero Arts Flourish Seasonal Paper: Gina K white Ink: Gina K jet black Accessories: Doodlebug glitter and flock, copic markers, Glossy Accents, ribbon from stash, Marvy silver metallic pen

Hello Stampers!  Today is the featured stamper challenge on SCS.  The featured stamper is Gayle.  Here is the card that I found in her gallery to CASE.  


For my card I had fun dazzling up the mouse image.  I added glitter to the bulb and Santa hat.  Then I added white flocking to the white part of the Santa hat.  I colored in the base of the bulb with a metallic silver gel pen, and then colored in the mouse and wheels with copic markers.  I also added glitter to the snowpile.  To finish the card I stamped a sentiment and added some ribbon.

That's all for now, thanks so much for stopping by!!

Terri


Thursday, December 3, 2020

Joy This Christmas


Supplies:  Paper: Cherry Cobbler, White, and Festive Farmhouse DSP Accessories: SU circle framelits, cherry cobbler ribbon, Spellbinders scalloped circle die, SU Wonderful Wreath Framelits Dies

Hello Stampers!!  The Ways To Use It challenge on SCS this week is Over the Top.  They are challenging us to make a tent topper card.  I originally was thinking that I would make a wreath for the topper, but then I found this lovely joy die cut in with the wreath dies.  I die cut it from cherry cobbler paper, adhered it to the white circle, and then adhered that to the scalloped cherry cobbler circle.  For the card base I found this paper that I just love and added some ribbon.  Quick and easy, clean and simple! :)

Thanks so much for stopping by!!!

Terri

Wednesday, December 2, 2020

Let's Celebrate You

Supplies: Stamps: Birds and Branches and Celebrate Sunflowers Ink: daffodil delight and crumb cake  Paper: white and crumb cake Accessories: Birds and More die cuts, Woodland embossing folder, twine, and circle die cut

Hello Stampers!  Today is the sketch challenge on Splitcoast Stampers.  Here is a picture of the sketch.

To make my card I started with the circle branch image.  I die cut it and then used a plain circle to turn it into more of a frame.  Then I die cut a plain white circle and adhered it to the back of the branch frame.  Next it was time for the bird.  I used daffodil delight by stamping off to get a softer yellow for the base, and then stamped on top of it with crumb cake.  I die cut it and adhered it to the branch frame.  Then for the three lines on the right I used the woodlands embossing folder to create those lines.  I adhered the circle frame onto the embossed panel, and then worked on the sentiment.  I decided to stamp and fussy cut it out, and popped it up onto the card with dimensionals.  And that completed my card.

Thanks so much for stopping by!!

Terri