Showing posts with label tutorial. Show all posts

Monday, April 9, 2012

Double Embossing

I have had some requests to make a tutorial for the double embossed card I made.  If you have any questions, please let me know. 

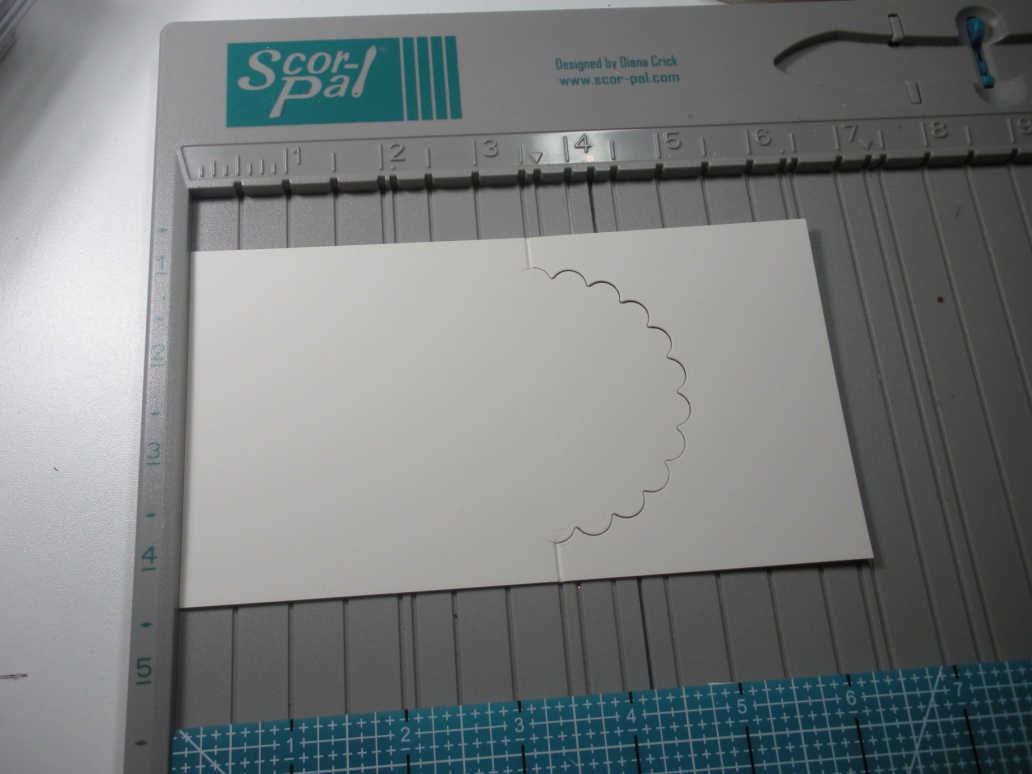
To begin you will need to pick out your shapes, and make some shims.  To do this cut the shapes out of chipboard two times, and glue them together.  My rectangle is 4.25x5.5.  When you cut this out remember this is how it will appear on your card.  Be sure to place it where you want it to be on your card.
 
Next select an embossing folder, and get your card base ready.  Put your card front in your embossing folder, then put your chipboard shim down.  This is will be the part that you want embossed.

 
Mat Stack: A plate, embossing folder with card front, shim, C plate

Note: I do not put the C plate over the entire card.  I place it over the card front only to avoid any unexpected embossed lines from the cutting plate.  I line up the edge of the C plate to the scored line of my card.

 
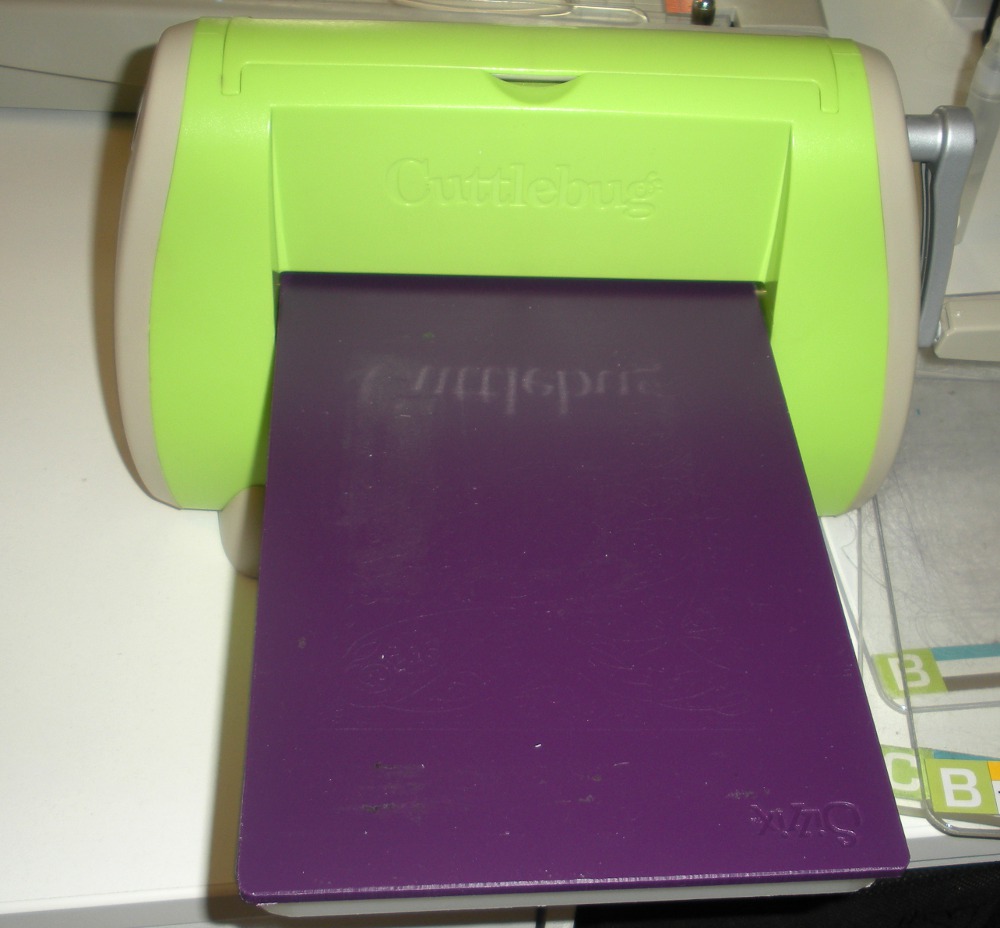
This is what it will look like after running it through the cuttlebug.

 
Now the final embossing:  Mat Stack:
A plate, B plate, silicone mat, card front: embossing facing up, nestabilites facing down.

 
Next place the chipboard shims on top of the nestabilities.  (This takes some patience, those buggers like to move just when you have them where you want them! J)

 Last carefully (remember those mats like to move…you may want to use a little dotto adhesive if they keep moving) place the B plate on top, again lining up the edge of the plate with your score line on your card.  And run it through.
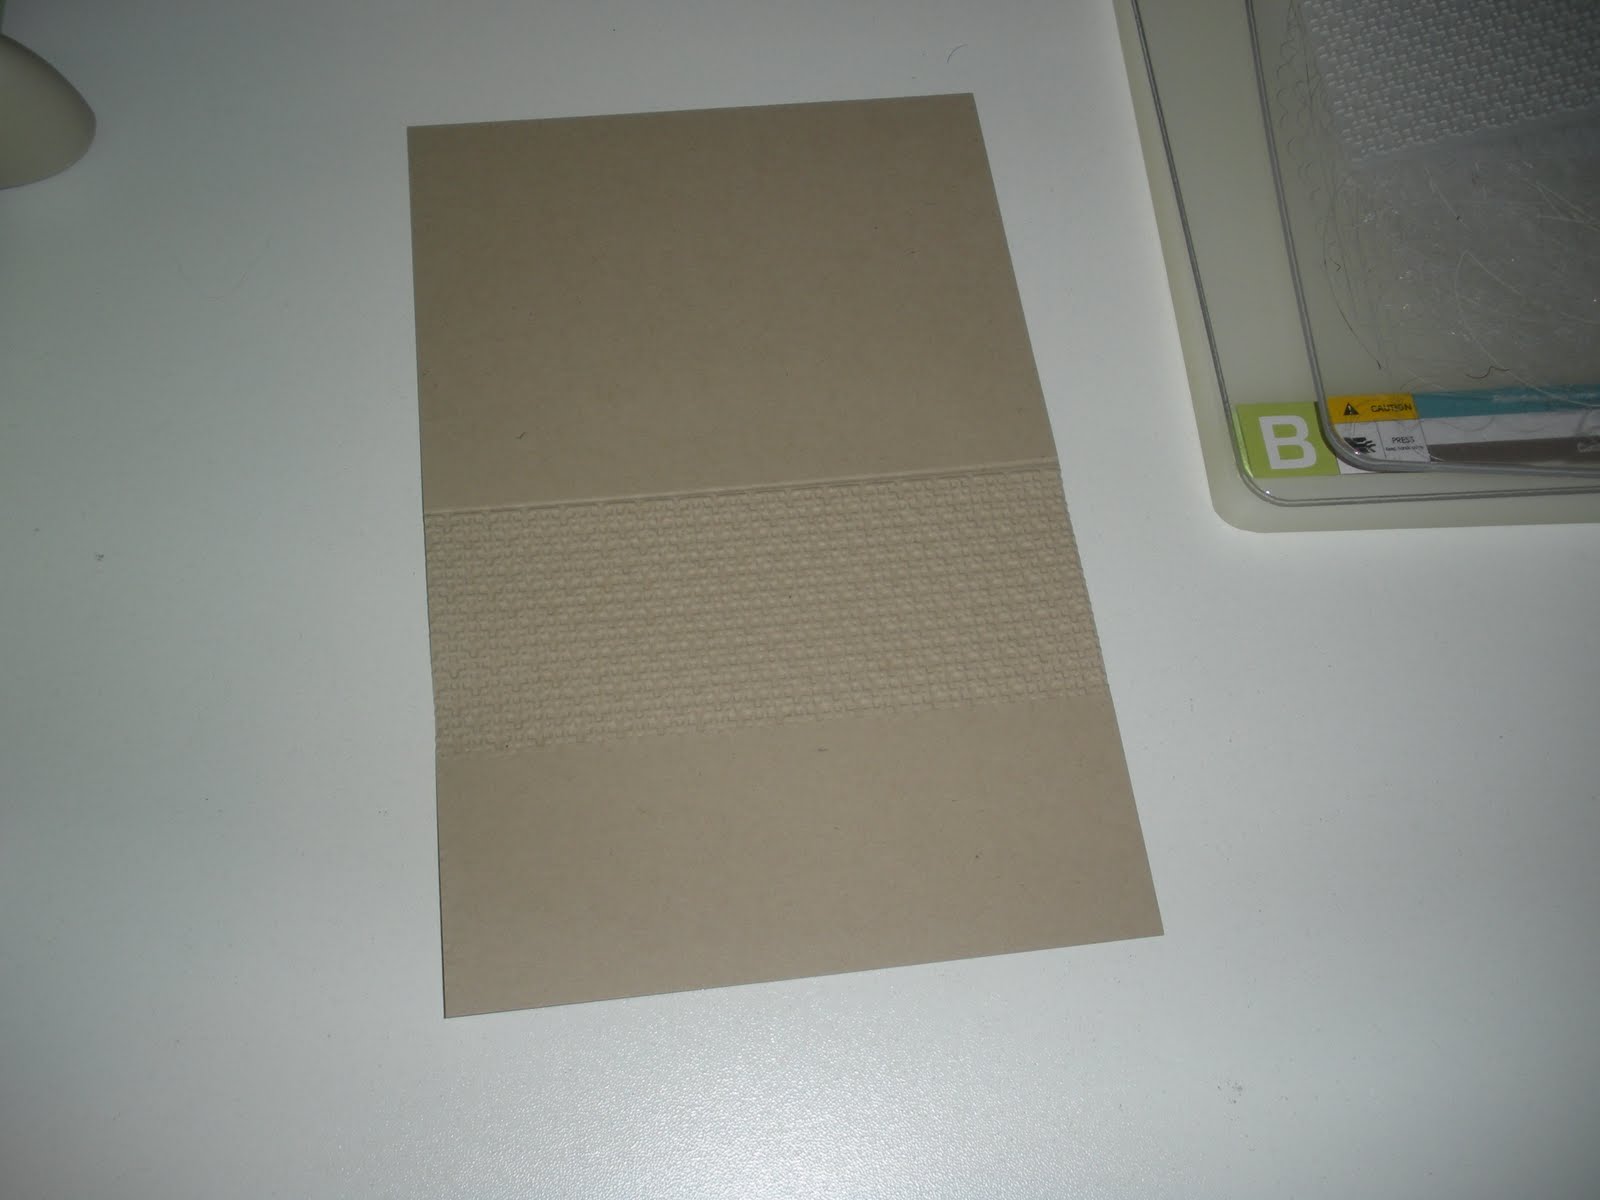
And presto! A double embossed frame using your nestabilities!  Time to embellish!  Have fun!!
Here is a link to the video where I recieved inspiration for this card:
Double Embossing Video

If you make a card using this technique I would love to see it, send me a link!

Terri

Friday, September 2, 2011

Let the School Year Begin...

Supplies: Accessories: Computer generated calendar, quickutz crayon die cut, computer generated lines for the crayon box, cardstock, font for calendar CK journaling, calendar case
It's time to get back to work for me, and start the countdown 'til next summer!  To get back into the school frame of mind I made my September calendar into a crayon box.  I used Microsoft word to create the triangle and lines of the crayon box and printed it onto my cardstock with my calendar.  I have recieved some inquiries about how I make my calendars so I am going to post a quick little tutorial here.  First I computer generate the calendar in a text box (size 2.13x3.5) on Microsoft Word, and print it out onto computer paper.


Then I take double sided removable tape and put it on top of the printed calendar.


I cut a piece of cardstock 2 1/8 x 3 1/2 and put it on top of the removable tape.


Then before I print the calendar I go edit my text box to remove the border.  I do this so if I don't line up my cardstock correctly the lines of the text box are not printed on my final project.

Here is what is looks like printed:


And peeled off of the removable tape.

From here you can decorate the calendar. 
I have been trying to find a way to share the calendar that I created online, but haven't been successful.  If you know of a way for me to do this I would love for you to share.  Until then send me an email and I can email you any of the calendars I have created.

Thanks so much for stopping by!  Have a wonderful long Labor Day weekend!

Friday, April 22, 2011

Fun Embossing Tip!

So I went shopping the other day at Joann and found the Cuttlebug All In One Embossing folder system. I was shocked, because I don't remember hearing about this new product and Joann had it in stock?! So I picked up the base and the thank you set, thinking how cool is this?! Being able to design your own embossing panels... But low and behold when we got it home the end result was disappointing. Every single time I ran it through there were creases next to the movable embossing plates. sigh...

I went on SCS and the Cricut Community forums for some tips and trick and tried different papers, mat stacks, even Kleenex! No luck. I was so frustrated I went that same night and returned it. Anywho, I was checking out the forums again today, and Lynn Phelps over at SCS posted that she spritzes her paper with rubbing alcohol because it works great to smooth out creases when embossing and gives a nice deep texture when using texture plates! (So at this point I was a little disappointed I returned the CB plates, because I wasn't able to try it out with the new product.) But I was totally excited about the texture plates! So this morning I filled up my spritzer with rubbing alcohol and ran it through, and WOW! What a difference. I took some pictures to show you the results.
Here is my mister and SU texture plate.


First I spritzed it, it only stays wet a short while and the paper curls a little bit.


In my Cuttlebug I layered the A plate, texture plate, then the wet paper (spritzed side down, don't know if that matters but that was how I did it)


Then I added the Sizzix rubber mat.


Then two shims that came with my Sizzix crease pad, but you could use cardstock or chipboard. Depending on your machine you may not need to use a shim at all.


On top I put the purple Sizzix plate, and ran it through the Cuttlebug.


And here is the end result. The alcohol spritzed one is on the left. On the right I followed the same mat stack without spritzing the paper. You can see that the texture is much deeper on the spritzed paper. I am thrilled with these results. I didn't always use the texture plates, because it was hard to see the design. Now I will be using them more frequently!

Thank you Lynne!


Saturday, April 16, 2011

Embossing the Top Portion of Your Card Base

I have had a few inquiries about how I embossed the top portion of my card base on this card. I am a visual person so I took a few pictures to show how I did this. First line up your score line with the embossing folder edge to be sure that the embossing goes all the way to the top of your card.
Here it is with the embossing folder closed. Mine looks a little off, it was hard to hold and take a picture.
Place your top plate only over where you want it to emboss. It may be helpful to mark on your embossing folder how far down you want the embossing to be on your card.
Run it through the die cut machine.
And the top portion is embossed.


Happy Stamping!


Friday, December 31, 2010

Pop Up Tent Card


Supplies: Stamps: Savvy Paper: Ivory, cherry cobbler Ink: cherry cobbler Accessories: Nestabilities: scalloped and plain circles, paper piercer, Martha studded heart and border punch, satin black ribbon, dimensionals.

I don't know if there is a name for this type of card. I was thinking it would be Pop Up Tent Card? I was looking for a tutorial because I know I have seen one somewhere! Well after searching and searching, I decided to make another card and make a picture tutorial for you. If you have any questions please feel free to email me!


Start out by cutting your cardstock to 3.75x6.5. You can make your base any size you want as long as it fits in your envelope. Next, lightly draw a line at 3.5 inches. This isn’t the center because I will be adding a border punch at the bottom to make up the difference. If you do not want to add a border at the bottom, make the base longer and draw a line in the middle.


Next select the nestabilities die that you would like to pop up. This will be the largest of the frame. So if you have a focal image selected already, make sure that your image and any desired layers will fit inside this shape.
Place the A plate, B plate, paper, die facing down *lining up the center of the die with the line you drew*, C plate *the C plate should only cover the half of the die that you want cut*. The placement of the C plate is essential for the success of this card. I placed it on the shorter side of my card, lining it up with the edge of the C plate with the line previously drawn. If your sides are equal you can choose either side. In either situation you are only covering half of your die cut with the C plate so it only cuts half of the die cut.
You’ll notice in my picture that my C plate is off to the right, this placement allowed me to have more control when running it through the cuttlebug. When I ran it through the other way I had a hard time getting it to catch to run through the cuttlebug. It also didn’t leave any unwanted marks on the paper that sometimes happens when using only part of the cutting plates.


You can see that only half of the die cut was cut, and now it is time to add some score lines so you can fold the card. With the longer side of the card base on the left, line up the card base on the edge of the score-pal. Score the card edges at the 3.5 inch mark on the score-pal. If you chose a different card size simply score it in the middle.
This is what your card will look like when it is folded. Time to embellish!


I added a scalloped circle in cherry cobbler. I punched out Martha’s studded heart punch and then cut out and embossed it using a circle nestabilities die. I popped it up on the red scalloped circle using dimensionals. I added a heart border at the bottom, added a scrunchy ribbon, stamped the sentiment, and added some piercing.


When I opened the card this is what it looked like. To make it look more polished and to hide my ribbon ends, I punched out another border lined it up with the front, and attached it.


Now it looks like this!


I hope you enjoyed this tutorial.

Have a great day!