Thursday, November 17, 2022

18th Birthday


Supplies: Stamps: PaperTrey Birthday Basics Paper: Gina K black and white, SU real red  Ink: Memento Tuxedo Black Accessories: embossing folder ?, Julie Hickey Sweet Pea Numbers die set

Hello Stampers!  The Ways To Use It challenge is to add dimension to your card.  I added foam tape to the back of my focal image to add dimension to my card.  
To make this card I started with a black card base, added a red layer, and then embossed the focal panel.  Then I worked on the focal image.  I stamped happy birthday on the focal image, and then die cut the 18th and adhered it to the focal image.  To finish the card I popped the focal image up using dimensionals.

Thanks so much for stopping by!
Terri

Sunday, November 13, 2022

Ladybug Wishes


Supplies: Stamps: Stampin' Up Little Ladybug Ink: Memento Tuxedo Black and VersaMark Paper: Stampin' Up Real Red, Gina K layering weight white, and Hero Arts Pitch Black Accessories: Gina K Master Layouts 2&4, Copic markers, Dimensionals, Brutus Monroe Alabaster White embossing powder, Stampin' Up Ladybug Dies

Hello Stampers!  I made this card using the Freshly Made Sketches, sketch of the week.
To make my card I started with a red card base.  Then I die cut the focal panel, stamped the flower, and colored it in with Copic markers.  Next I stamped, die cut, and colored in the ladybug.  I adhered the ladybug with dimensionals.  For the sentiment I heat embossed it and die cut it.  To finish the card I adhered the sentiment, and adhered the focal panel to the card base.

Thanks so much for stopping by!!

Terri

Cardinal Christmas

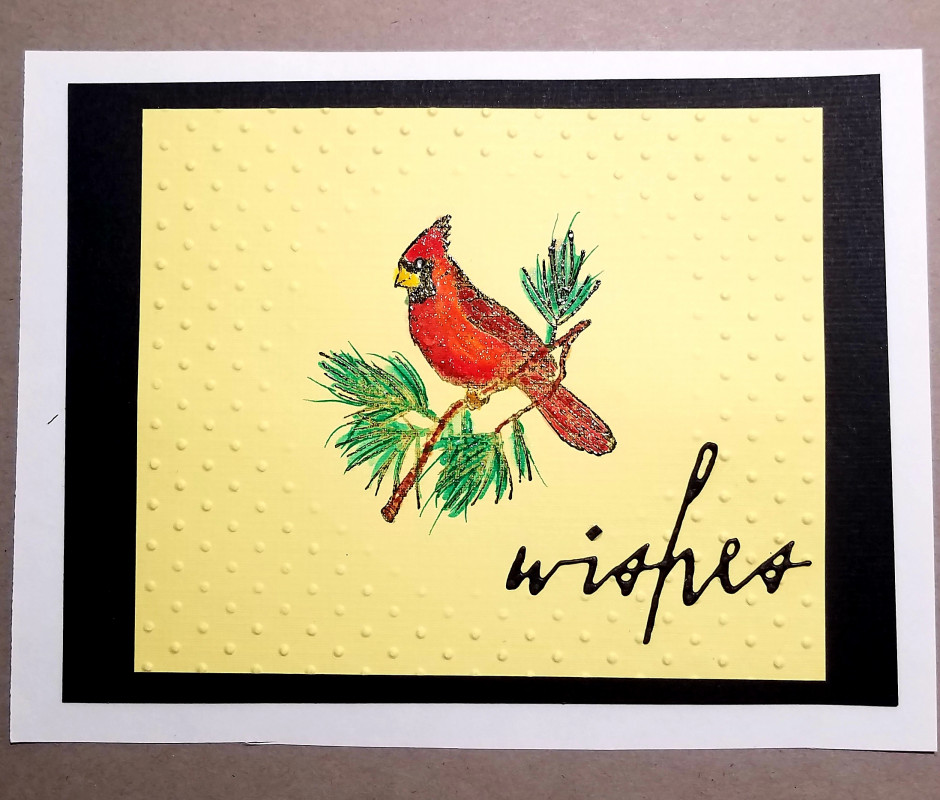
Supplies: Stamps: Our Daily Bread Designs: Cardinal Ornament  Ink: Memento Tuxedo Black Paper: Gina K heavy base weight white and layering weight white Accessories: Darice embossing folder, Copic markers, dimensionals, Waffle Flower: Additional circles die

Hello Stampers!  It is Featured Stamper Sunday on Splitcoaststampers!  I chose this card from the Featured Stamper's gallery.

To make my card I started with a white card base, cut the focal panel from layering weight white, and embossed it.  Then I stamped and die cut the focal image with a circle die cut.  Next I colored in the focal image with Copic markers.  To finish the card I popped up the focal image with dimensionals and adhered it to the embossed panel.

Thanks so much for stopping by!

Terri

Saturday, November 12, 2022

Merry Christmas

Supplies: Stamps: Honey Bee Joy  Paper: Gina K white, DCWV silver foil paper  Ink: SU real red  Accessories: Sunny Studio: Merry die, Stampin' Up Labels Aglow dies, dimensionals, bakers twine.

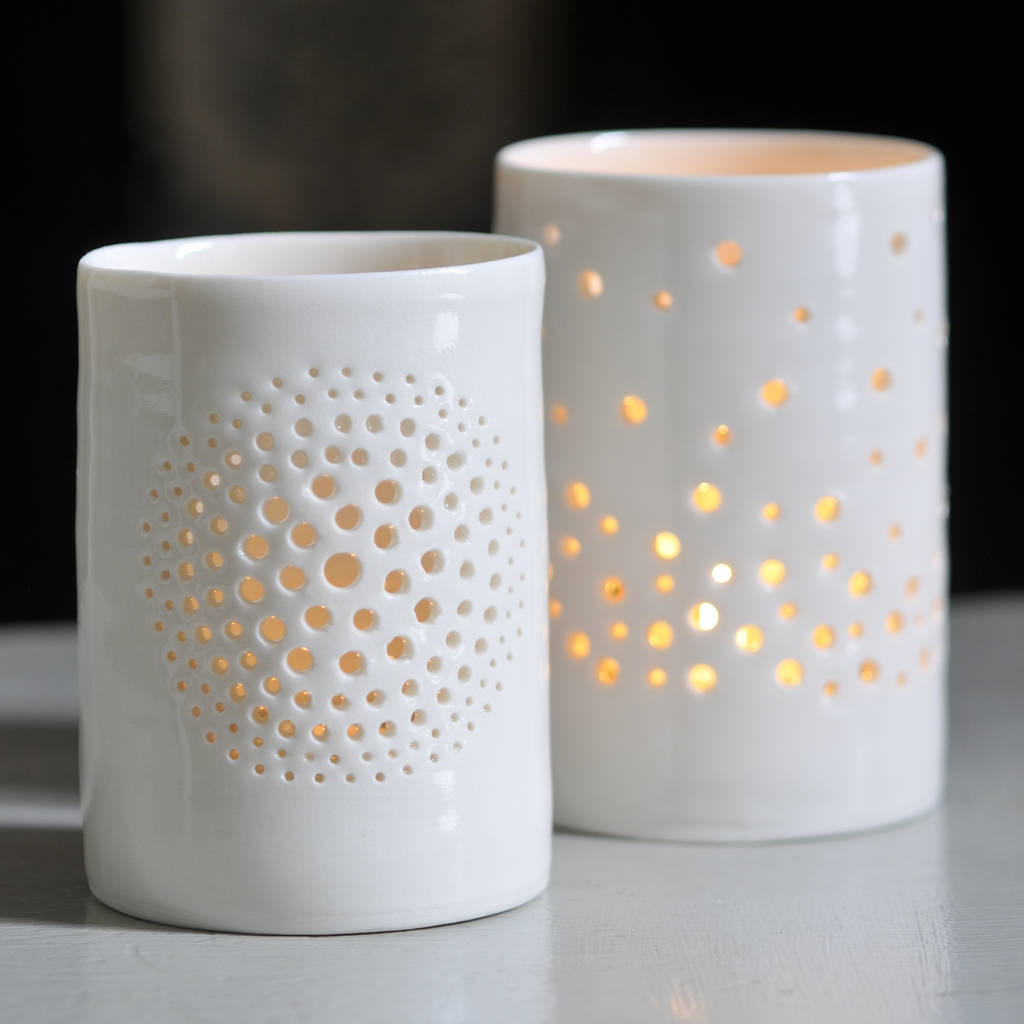
Hello Stampers!  Today there is an Inspiration Challenge (Chapters Indigo Christmas) on Splitcoaststampers. I chose the following image as inspiration for my card.  The pierced bubble pattern reminded me of the Label Aglow die.
This was a pretty simple card to make (my favorite kind.). I started with a white card base, then cut the focal panel out of white, and die cut the dotted frame.  To this I added the silver die cut merry, and used my stamp a ma jig to stamp Christmas.  To finish the focal panel I added some red and white twine.  

Thanks so much for stopping by!!

Terri

Sunday, November 6, 2022

Reindeer Cheer


 Supplies: Paper: SU crumb cake, riding hood red, early espresso, garden green Gina K white, PaperCut sno cone, DCWV silver foil Accessories: PoppyStamps: Whittle Forest Reindeer Kit, Lawn Fawn Stitched Snowflake Backdrop, Essentials by Ellen Alpine snowfall, Waffle Flowers-Additional circles dies, Lawn Fawn Stitched Hillside Borders, Bakers' Twine, red gem

Hello Stampers!  I made this card using this weeks Freshly Made Sketches sketch.  
To make this card I started with a crumb cake card base.  For the two panels I die cut the Lawn Fawn stitched snowflake backdrop. For the focal panel there was a lot of die cutting.  I started with the alpine snowfall in sno cone.  Then I die cut a white circle to put behind the alpine snowfall piece.  Then I die cut the reindeer and tree and adhered it to the focal piece. I wrapped the bakers twine around the card base, and then adhered the focal panel with dimensionals.  And to finish the card I adhered a bow to the bakers twine.  This was a fun card to make, I love all of the die cutting!!
Thanks for stopping by!!

Terri

Wreath Christmas


Supplies: Stamps: SU Wondrous Wreath, SU Peaceful Wreath  Ink: Memento tuxedo black Paper: real red and white Accessories: Copic markers, SU real red ribbon

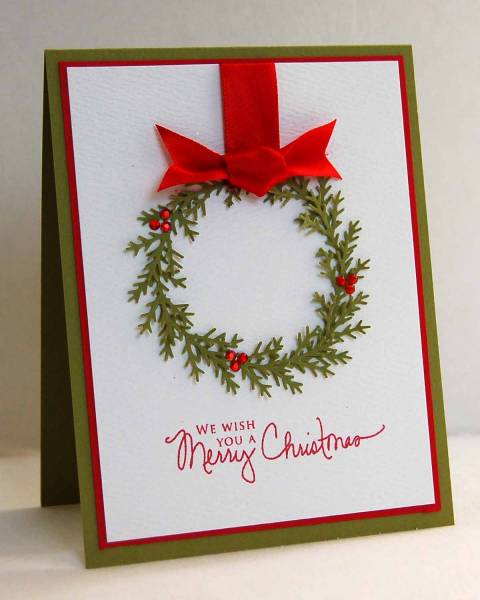
Hello Stampers!  It is time for the Featured Stamper Challenge on Splitcoaststampers.  Here is the card I chose as inspiration for my card.  
For my card I cut a red card base, and a white focal panel.  I stamped and colored the wreath with Copic markers.  To finish the card I added a ribbon treatment and a sentiment.

Thanks so much for stopping by!!
Terri


Sunday, October 30, 2022

Graveyard Greetings


 Supplies: Stamps: Taylored Expressions: Simply Said-Halloween Paper: Gina K white and black cardstock and Pebbles 6x6 Midnight Haunting paper pack, and silver foil cardstock Ink: Memento tuxedo black Accessories: Cottage Cutz-Graveyard Border and Gina K stitched oval dies

Hello Stampers!  I spent the day in my craft room making Halloween cards, and a birthday card for my nephew who is turning 18!  This card was inspired by a card my mom sent me.  I will try to link it.  

I started with a black card base.  Then I worked on the white layer.  First I die cut an oval in the center of the white layer.  I also die cut the stitched oval frame and adhered to the white layer.  I used my stamp a ma jig to stamp the sentiment at the bottom of the white layer.  To finish the card I die cut the oval from the starry night paper.  Then I die cut the graveyard and added silver foil paper behind the windows of the graveyard die cut, and adhered it to the starry night paper.  I lined up the starry night oval to match the oval from the front of the card and adhered it to the inside of the card.  

That's all for now! :)

Terri