Sunday, October 31, 2021
Gold Deer Christmas Greetings
Sunday, October 17, 2021
Beauty of the Season
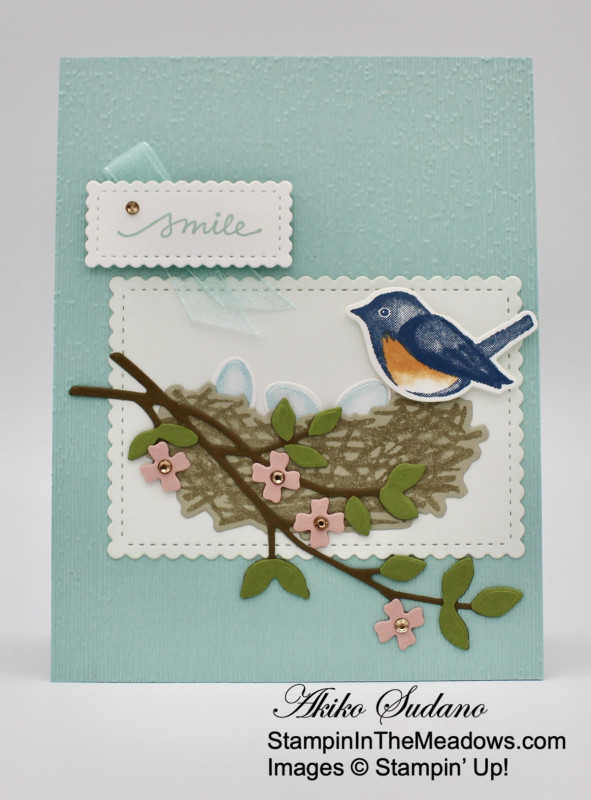
To make my card I used a new to me stamp set. I went to a stamping rummage yesterday with my Mom and sister, and found this stamp and die set! I just love this sentiment, it is so elegant and stunning. Perfect for the focal point of this card. I die cut it out of a stitched oval die, and matted it with a scalloped oval die. Then I adhered it to the designer series paper. I used some mossy meadow braided trim to accent the corners. And to finish the card I adhered the layers together. A very quick and easy card!
Monday, September 6, 2021
How Ya Bean?
Sunday, August 22, 2021
A Little Birdie Told Me...
Friday, August 20, 2021
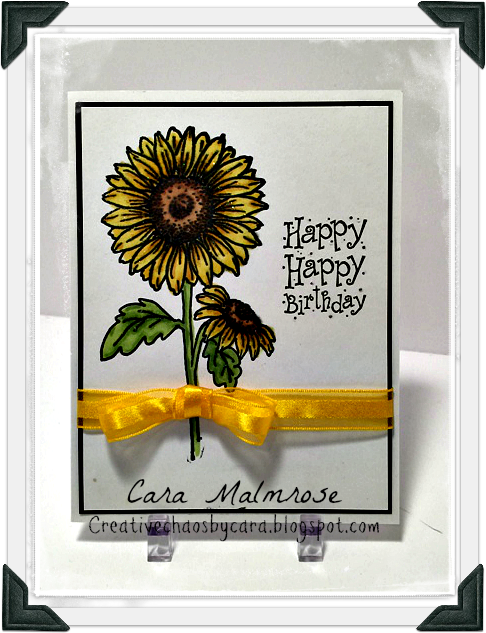
Sunflower Frame Card
Wednesday, August 18, 2021
Woodland Friends Birthday Card
Supplies: Stamps: Gina K Woodland Friends Paper: Gina K heavy base weight white Ink: Memento tuxedo black, Distress Ink tumbled glass and mowed lawn Accessories: Gina K Woodland Friends dies, Spellbinders deckle edge rectangle die, Gina K Master layout (banner die cut), Copic markers, dimensionals, Pickett Fence blender brushes, Eclipse masking paper
Helllloooo Stampers! Wow, it has been awhile! I had all summer to stamp but aside from the cards I made for the Dirty Dozen I didn't make a whole lot of cards. And now I go back to school next week...ugh!
But today I received this Woodland Friends die set in the mail and couldn't resist inking it up. To start I made a mask using the deckle edge Spellbinders die, and then I blended on some blue and green for the sky and grass. I let this dry while I stamped, die cut, and colored the deer and raccoon. I always die cut my images first in case I mess up. I would be soo bummed if I spent all that time coloring and then mess up the die cut. To finish the card I popped up a sentiment that I had die cut, and popped up the focal panel onto the card base.
I will be saving this card for my niece's birthday this fall. She loves animals!
That's all for now!
Thanks for stopping by!!
Terri
Monday, May 10, 2021
I'll rise, but I refuse to shine
Sunday, May 9, 2021
Silhouette Birthday Wishes
For my card I kept the colors the same for the blending. My spun sugar was kinda dry so my blending isn't as seamless as I would have liked. I stamped my silhouette image and sentiment using my Misti. I matted the focal panel with some black, and adhered it to the white card base. To finish the card I added some gems.
Sunday, May 2, 2021
Bunny Birthday Greetings
To make my card I stamped my image using a waterproof ink so I could do some watercoloring. I'm not very good at watercoloring but I thought the bunny would look good with a watercolored look. So I used my distress inks and gave it a go. After I colored in the image I stamped my sentiment and added some linen thread instead of ribbon. To finish the card I adhered the focal panel to my grey card base. And that finished my card.
Monday, April 19, 2021
April Showers
Sunday, April 18, 2021
Happy Easter!
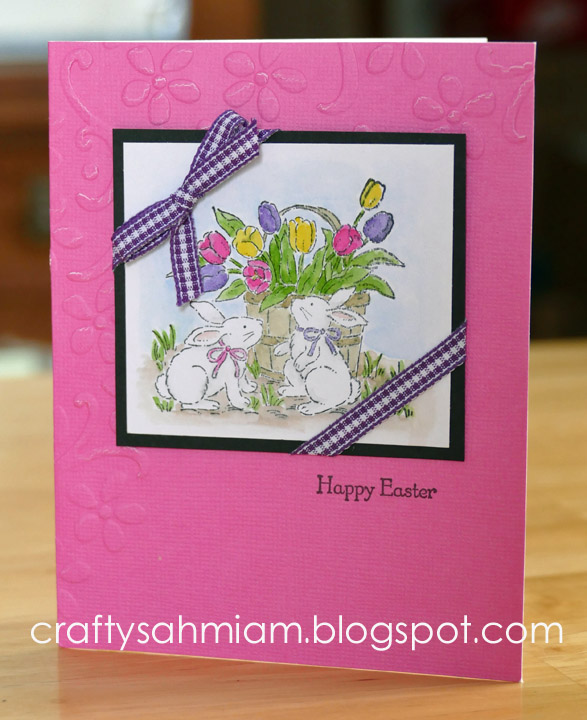
To make my card I stamped, colored, and die cut my focal image. Then I added the ribbon treatment and added a melon mambo mat. For the background I used a piercing plate instead of an embossing folder, so I couldn't stamp a sentiment on mine.
Sunday, April 11, 2021
Ho! Ho! Ho!
Sunday, April 4, 2021
Sunflower Birthday Wishes
Monday, March 29, 2021
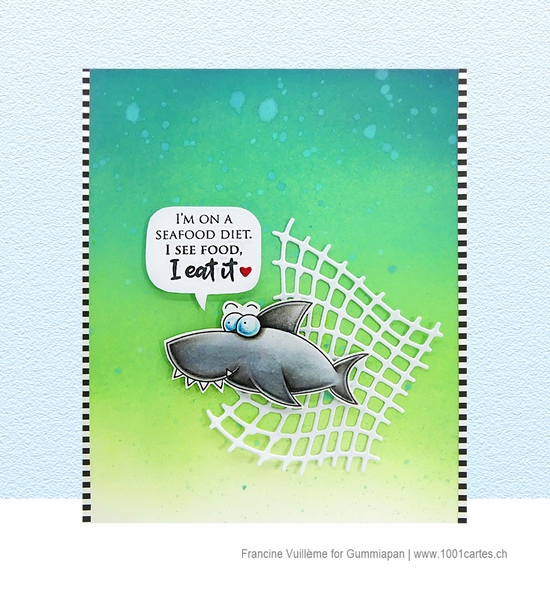
Have a Jawsome Birthday
Wednesday, March 24, 2021
Happy Birthday
Sunday, March 21, 2021
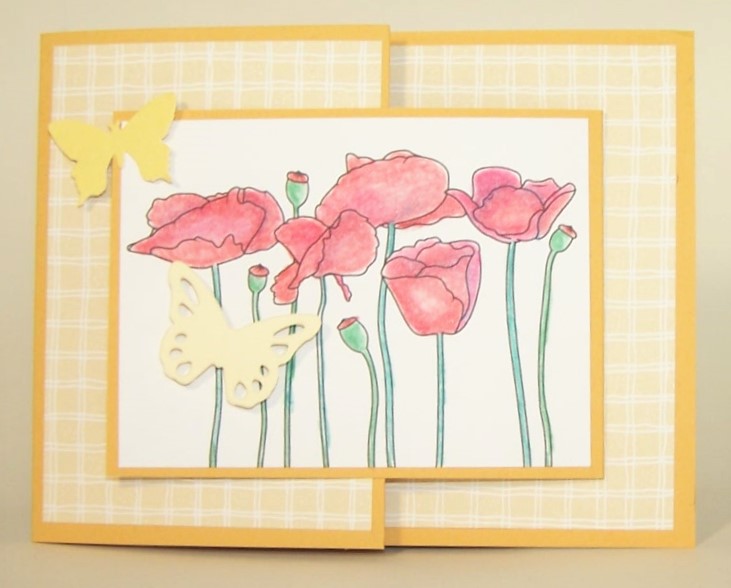
Joy Fold Poppies
Wednesday, March 17, 2021
Chunky Flower
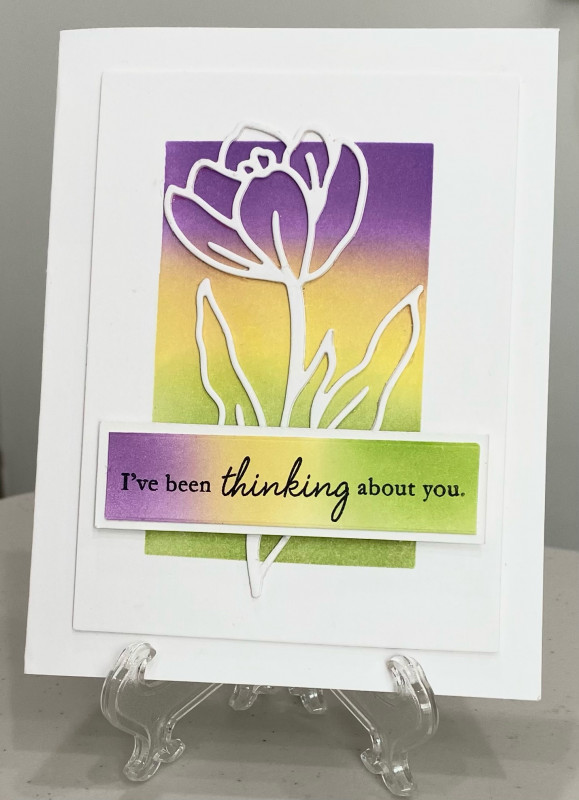
To make the card I started by ink blending the rainbow using Distress Inks. Then I die cut the chunky flower background out of it, and then I die cut the top layer of the chunky flower out of white and adhered it to the background. I adhered this to the layers, and added some ribbon and that finishes my card.
Monday, March 15, 2021
Happy Easter
Sunday, March 14, 2021
Warm Wishes
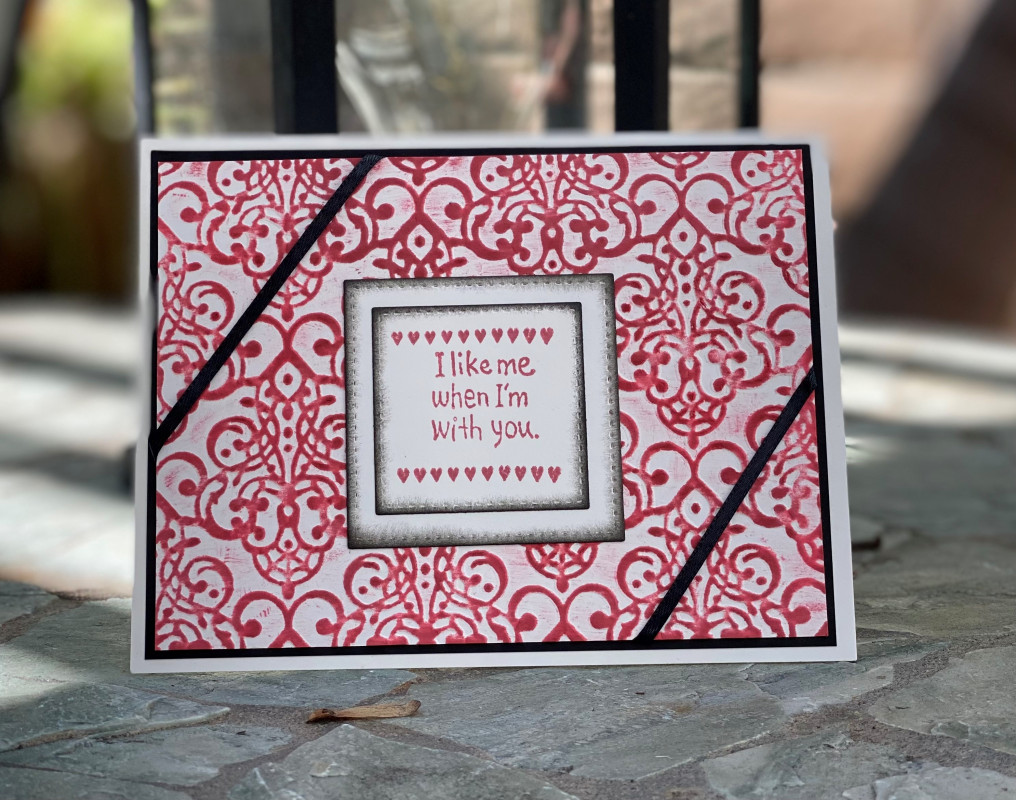
I thought I could try some ink smooshing, but use an embossing folder instead of acetate. So I used the same color distress inks and inked up my folder. Then I sprayed it with water. I used a paint brush to soften the lines of the ink cubes, and ran it through my die cut machine. I think it turned out OK. To finish the card I trimmed the focal panel so I could have a white frame, added a sentiment strip, and added some sequins.
Wednesday, March 10, 2021
Double Gate Fold Card
Sunday, March 7, 2021
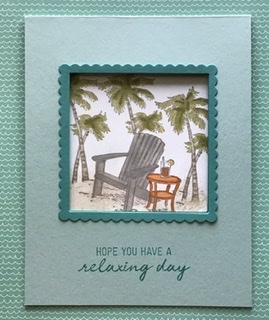
Relax, it's your day!
Wednesday, March 3, 2021
Buzzing By To Say Hi
To make this card I started with a melon mambo card base. The next layer I used the detail petal plate to add some texture to the background. For the focal image I stamped, colored, and die cut the image, and matted it in melon mambo. I stamped another bee from the image, colored it, cut it out, and popped it up with a mini dimensional on the focal image. Next I added some ribbon, and then it was onto the sentiment. I stamped it on white cardstock, punched it out with the 1 3/4 inch circle punch, and matted it with one of the circles from the Stampin' Up layering circle framelits. To finish the card I adhered all of the layers together.
Sunday, February 28, 2021
Exciting News!

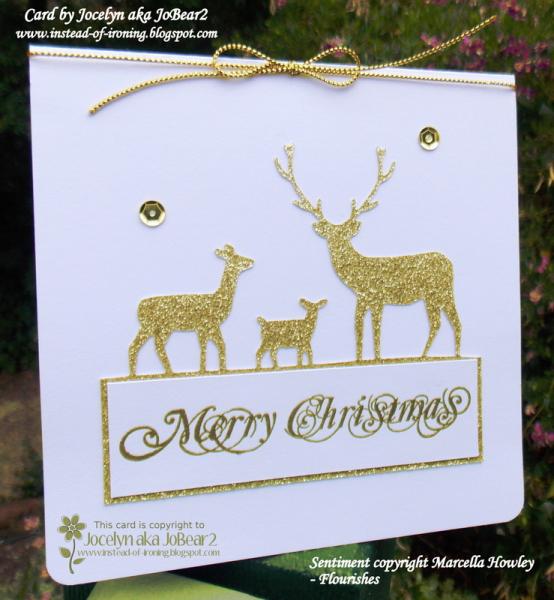
I loved all of the piercing on her card, so I used the Memory Box Pinpoint Snowflake Plate to add piercing to my background. I changed the orientation of the card to be a top folding card. For the focal image I also used an oval frame. I used gold accents to mat the focal image and added some gold cording at the bottom of the card. My supply of Christmas cards is getting pretty big, soon I will be done!! That would be a record for me to be done so early with my Christmas cards!!

